On this page
View In PDFA pool construction programme needs separate time for design, required approvals, site preparation, the shell, finishes and commissioning. Concrete work must reach the specified readiness before later layers go on; a prefabricated shell needs its delivery and lifting arranged. Obtain a programme for the actual design and site before fixing a first-swim date.
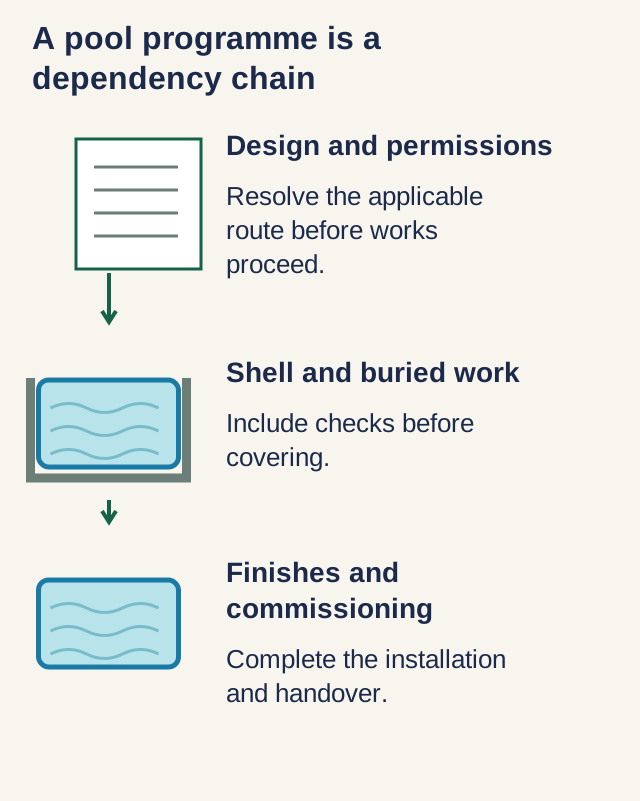
Allow for installation and the work before it can start
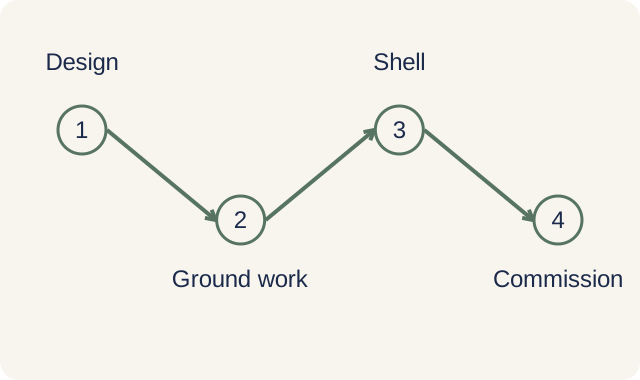
Discuss the pool design alongside the work needed before the site can start. The programme should distinguish the date drawings begin, the date construction can begin and the date the pool is ready to use. A single “completion” date can otherwise hide several different promises.
Installation time is not the same as the calendar time from your first enquiry. If access is unresolved, a design is still changing or required submissions have queries, the start date can move before excavation begins. Ask the project team for a dated design-and-submission stage rather than adding an assumed universal permit allowance.
The construction method changes the sequence too. A reinforced-concrete shell is built on site; a prefabricated shell needs delivery and lifting access, with the surrounding preparation ready to receive it. Both require coordinated pipework, equipment and finishing. Compare programmes for the proposed method, not just the days allocated to digging.
| Installation scope | What controls the sequence | What to establish before setting dates |
|---|---|---|
| Concrete in-ground | Site-built shell, curing, waterproofing and finishes | Engineer and product readiness conditions for each stage |
| Fibreglass shell | Manufacture, delivery, lifting and prepared base | Delivery slot, lifting access and site readiness |
| Infinity/overflow | Pool construction plus collection and balancing arrangements | Coordination of the edge, collection basin, pipework and equipment |
Choose the construction approach with the site programme in mind. A factory-made shell reduces work forming the shell on site, but ordering, delivery, lifting and preparing the base still have to fit the schedule. An overflow edge adds collection, pipework and balancing arrangements that a simpler pool may not need.
Phase 1: Design, structural drawings and authority submission
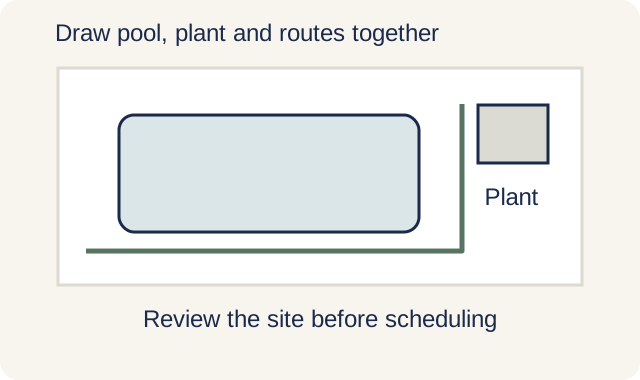
The design needs to establish the pool dimensions, depth, structure, plant location and drainage route. Have the project team check the proposal against the property's boundaries and applicable planning requirements before construction is scheduled. A generic setback figure cannot establish where a pool will be permitted on a particular site.
URA’s CORENET 2 submission guidance, updated 30 September 2026, gives a general assessment time of 20 working days for a development application through that route. It applies to qualifying new projects with gross floor area below 5,000 square metres that do not require CORENET X. This covers URA’s assessment, not design preparation, other required clearances or construction; the Qualified Person must confirm the route for your project. Have the project team also check the building-plan submission requirements.
Settle equipment location and service access while the pool layout is being designed. Pumps, filters, electrical equipment and any stored treatment products need the provisions applicable to the installation. Have the responsible professionals identify the authority requirements and submission fees; a generic reference to 'plant-room clearance' does not explain what your project needs.
A useful programme shows three dates: design accepted for submission, permissions and other start conditions resolved, and physical installation started. Design development and approvals can overlap with some procurement only when the project team is comfortable that later changes will not make the order unusable. Do not count an optimistic delivery date as time already saved.
Phase 2: Site setup and excavation
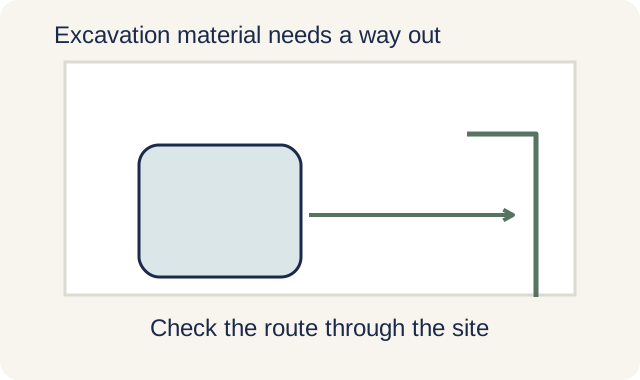
Once approvals are in hand, physical work begins with site protection and excavation. Hoarding goes up, access is established for the excavator and spoil-removal lorries, and existing services are located and protected. On a tight terrace plot this setup alone can take longer than on a wide detached site, because there is simply less room to stage machinery and stockpile excavated material.
Excavation includes removing the soil from the property, not simply making the hole. Restricted access, buried services and ground that differs from the design assumptions may change the method. Establish how those findings will be assessed and priced, because a revised support arrangement can affect both the site programme and the pool shell.
Phase 3: Shell construction, waterproofing and plant room
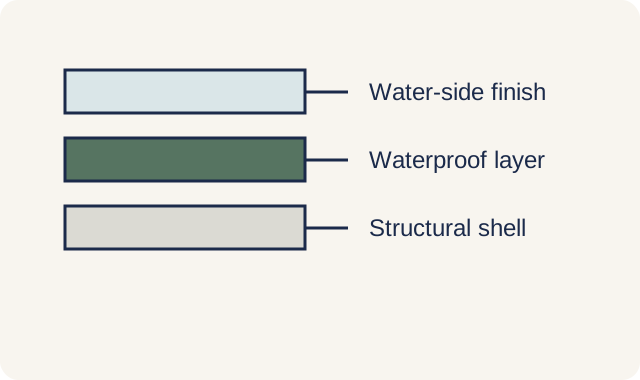
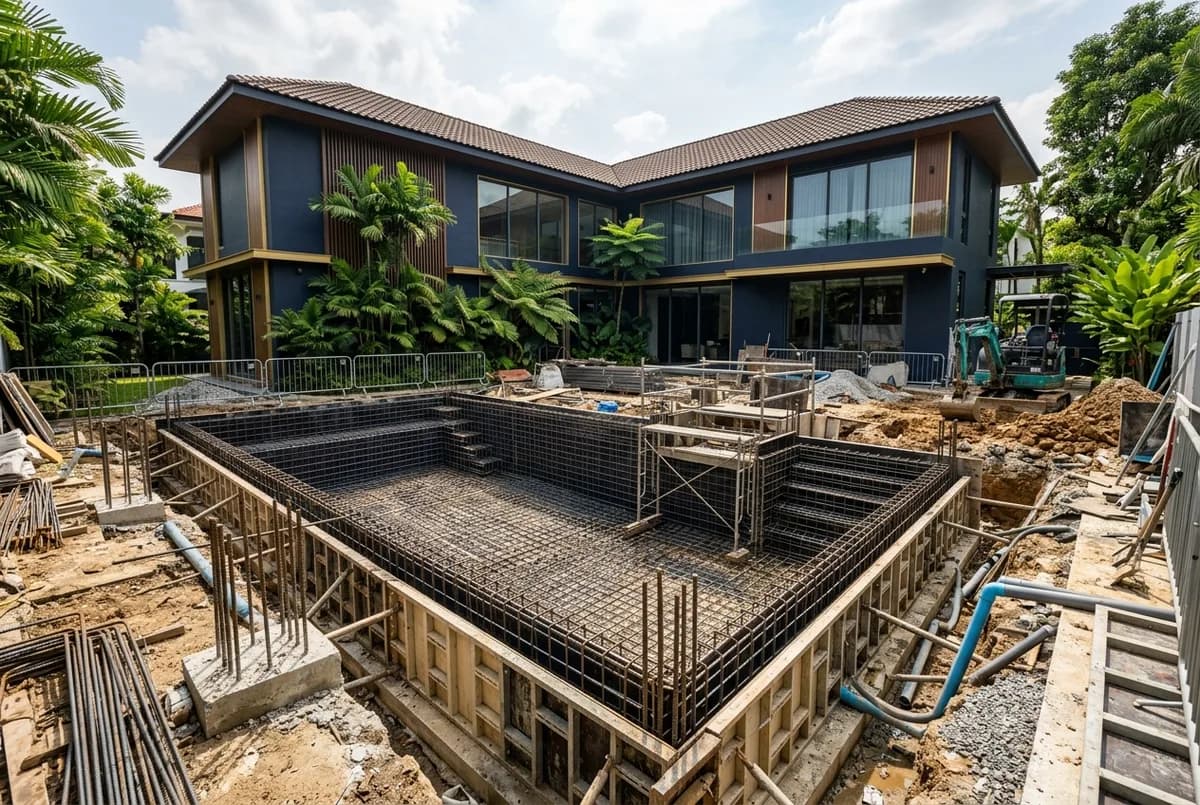
For a reinforced-concrete pool, reinforcement and formed or sprayed concrete create the structural shell. The engineer specifies the construction and strength requirements. Curing, moisture conditions and acceptance before subsequent work depend on the concrete and chosen waterproofing system; adding workers cannot simply replace those technical conditions with an earlier date.
Pipe routes, penetrations and cast-in fittings need coordination with shell construction. Suitable tests should be completed before access is concealed. The waterproofing and finish sequence then follows the selected system's preparation, application and curing requirements. It is harder to investigate a connection after it sits beneath finished tile or paving.
The question at this stage is when the next material can safely go on, not only when the crew can return. Concrete readiness, waterproofing coats, adhesives and finishes have different requirements. Have the installer identify the actual product instructions and inspection points; an assumed “one day to dry” cannot stand in for all of them.
The plant area can progress alongside compatible shell work, provided the drawings and required approvals are settled. Show when equipment bases, drainage, electrical provision and any specified protective construction will be ready. Parallel work helps only when one trade will not damage or obstruct another's unfinished installation.
Phase 4: Tiling, finishes and surrounding works
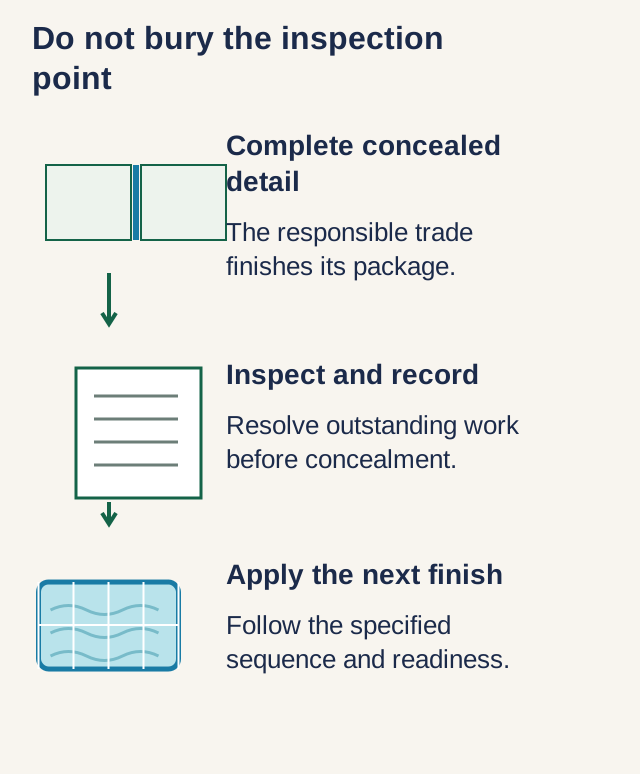
Finishing follows the required acceptance of the underlying work. Tiling or another selected finish, coping and surrounding deck need compatible materials and a planned sequence. Exposed waterproofing, adhesives and finishes can have moisture or weather restrictions, so finishing is not automatically protected from rain delays.
Confirm deck reinstatement, drainage details, barriers and repairs where the new work meets the existing property. Identify the contractor responsible for each connection on the drawings and quotation. A completed pool shell does not by itself provide a safe, finished route around the water.
Phase 5: Filling, water balancing and handover
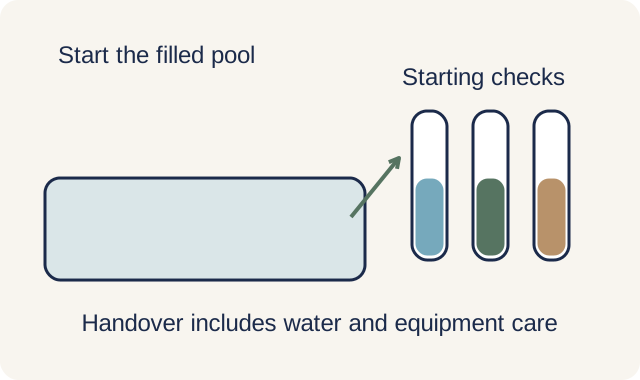
Filling and commissioning begin when the construction and product requirements permit. Agree the water-supply and filling arrangement rather than assuming a special PUB-scheduled fill. The provider checks water treatment, circulation, controls and the relevant safety functions before swimming begins. Leak checks should cover the operating system as well as visible finishes.
Handover should include an explanation of the equipment, cleaning routine and water checks, together with manuals and service contacts. Ask for the proposed servicing scope and operating schedule before you commit so you can budget for electricity, water, chemicals and replacement consumables. These ongoing costs sit alongside the construction quotation.
The first swim comes after the equipment has been checked and the water-care arrangement is operating. Leave time to correct a leak, a control fault or an unfinished access detail found during commissioning. A date for completing tilework is therefore not automatically the date to invite people to use the pool.
Before accepting a handover date, read the programme backwards from the first swim: commissioning needs a fill-ready pool; filling needs finished and sufficiently cured materials; those finishes need accepted waterproofing and concealed pipework. The contractor should identify which of those dependencies controls completion and where weather or site findings may change it. Send DirectHome the available site plan, desired pool type and target use date to discuss that sequence.
Frequently asked questions
Can a swimming pool be built during Singapore's monsoon season, or should I wait?
Work can be planned through wet periods, but rain may affect excavation, access, waterproofing and finishes as well as concrete operations. The contractor should follow the selected materials' conditions and allow for protection or rescheduling. A dry-looking surface does not establish that it is ready for the next layer.
Which phase of pool construction is most likely to cause delays?
It depends on what is unresolved. Design or approval queries may delay the start; ground findings, equipment delivery and unsuitable conditions for materials may affect construction. Ask the team to identify the critical dependencies for your site rather than applying a standard delay ranking or approval window.
Why does concrete pool construction take longer than the actual digging suggests?
Digging creates space; it does not create a finished watertight structure. Reinforcement, concrete work, curing, pipe testing, waterproofing and finishes have their own acceptance conditions. The engineer and product instructions determine when work can progress. A prefabricated shell changes that sequence but still needs compatible site preparation and services.
Does building a pool need approval from more than one government authority in Singapore?
It can. The design team must identify the planning, building, water and drainage requirements and any other conditions triggered by the proposed work. Not every project requires the same four separate applications. Obtain a site-specific submission plan before relying on the construction start date.
Swimming Pools across Singapore
Need help with your project?
Tell us what you need on WhatsApp and send a few photos. We'll arrange a free site assessment, then give you a fixed-price quote within 3 to 5 working days.