On this page
View In PDFHome lift installation follows six main steps: assess the site, settle the quotation and required submissions, prepare the structure, install the lift, complete testing and operating requirements, then hand it over with owner training. The stages depend on one another. Planning them together helps you understand both what happens inside your home and what must be ready before the next team starts.
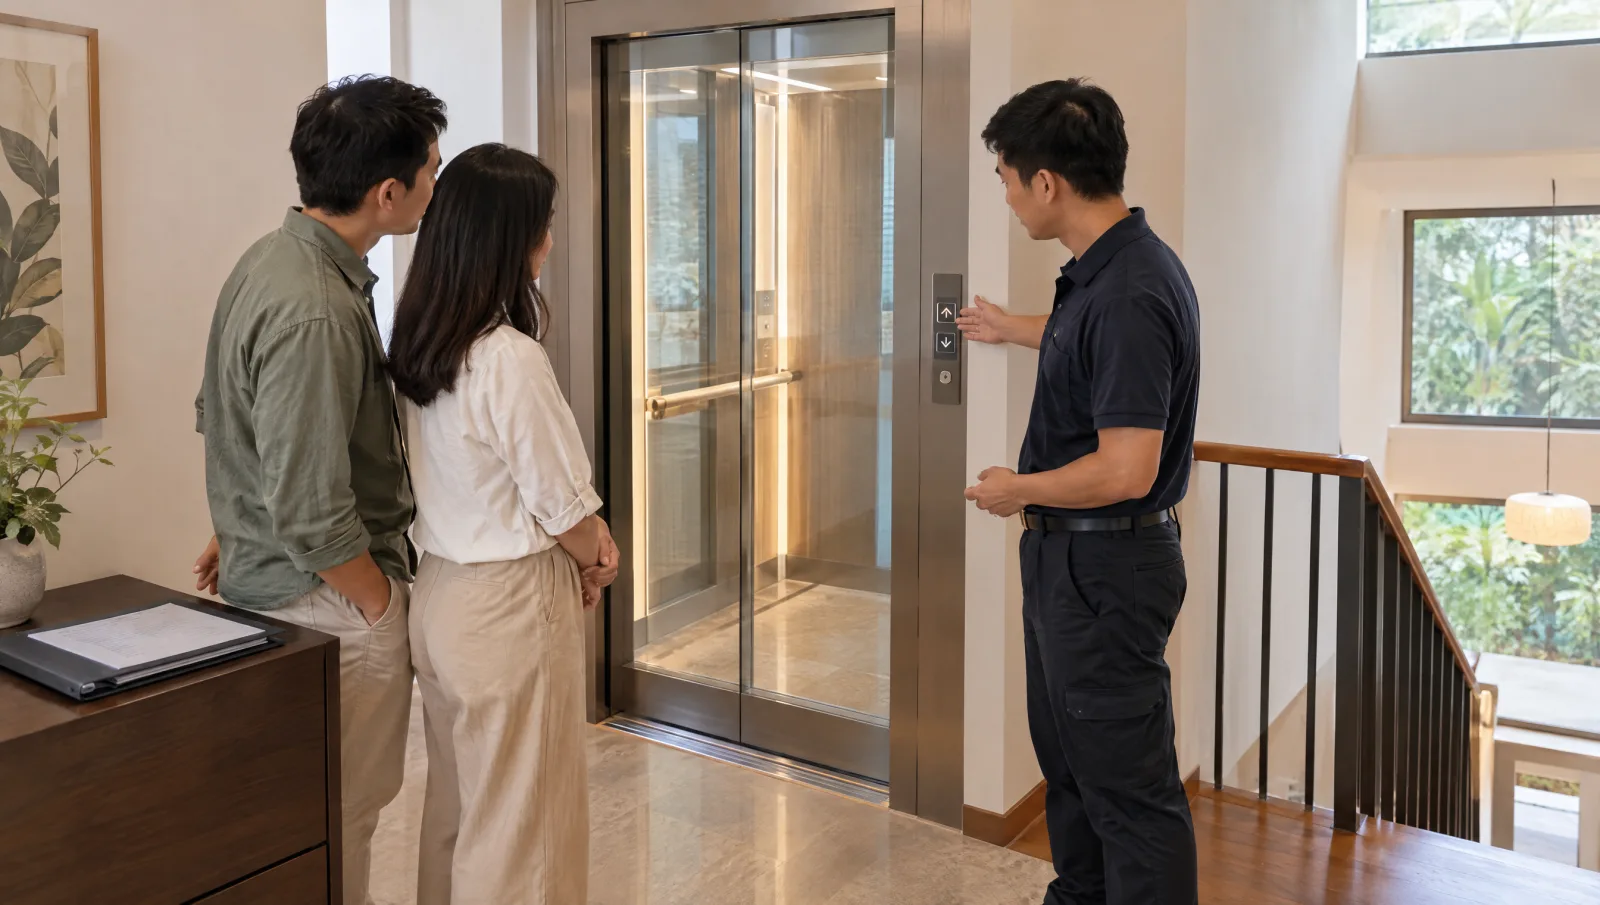
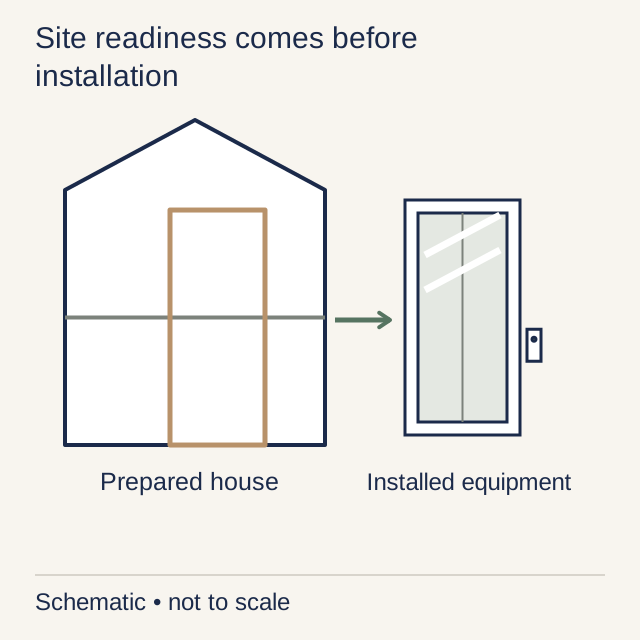
Start to Finish: Plan the Dependencies
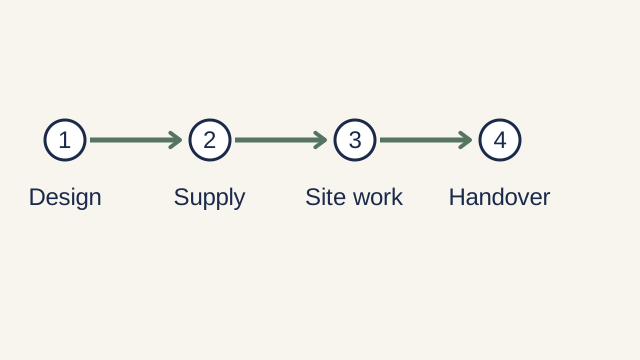
Request a project programme covering survey, coordinated design, required submissions, equipment procurement, site preparation, installation, testing and the PTO application. Delivery and building work need to be coordinated with the lift installation; a regulated lift must have a valid PTO before use.
Treat the steps below as dependencies, not a universal week-by-week promise. A procurement period can overlap some preparation, but only when the design is sufficiently settled and the work is authorised. Identify the decisions that must be closed before ordering equipment or starting each site phase.
Step 1: Site Visit and Feasibility
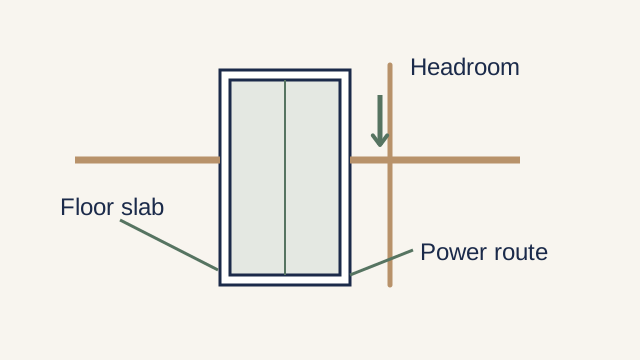
The survey should establish the proposed stops, aligned space through the floors, landing approaches, structural conditions and power provision. Include the actual user’s needs, such as mobility-aid dimensions and whether an attendant must travel. A narrow equipment footprint is irrelevant if the user cannot approach its door.
An existing shaft or lift provision is a useful starting point, but still needs to be checked against the selected model and current condition. If openings or supports need alteration, involve the structural QP early. A quick measurement visit cannot establish concealed reinforcement or confirm feasibility on its own.
Step 2: Quote, Contract and Required Submissions
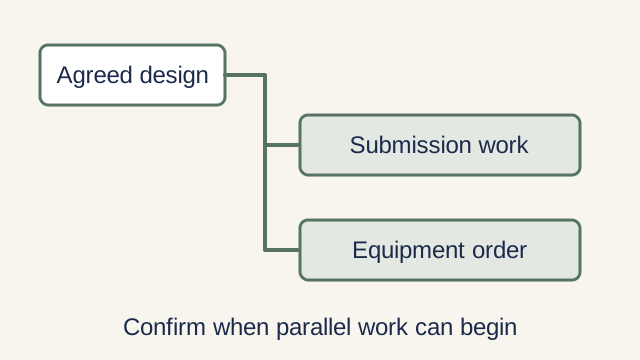
Resolve the model, coordinated drawings and division of work before finalising the contract. Identify the parties responsible for structural design, building work, electrical installation and the fixed installation. BCA’s structural process distinguishes structural-plan approval from the permit to carry out applicable work.
Have the professionals set out the submission and certification route for the actual proposal. Confirm procurement lead times and which unresolved design changes could affect the order. Avoid ordering a fixed-size enclosure against provisional openings without a written agreement on the associated risk and approval dependencies.
Step 3: Structural and Shaft Works
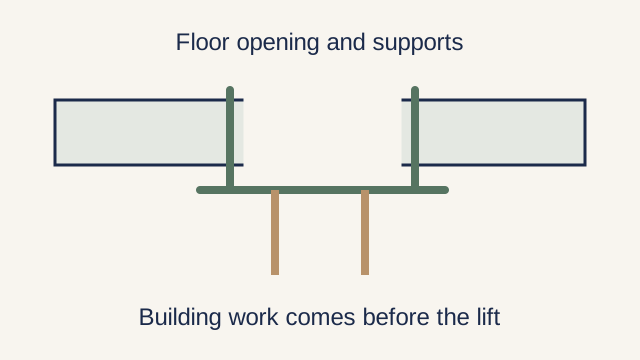
Building preparation may include floor openings, reinforcement, supporting structure, shaft construction, power and making good. Have the responsible team confirm the applicable approvals and permit readiness before starting. The manufacturer’s interface drawings should agree with the structural and architectural details.
Plan safe separation from occupied rooms and maintain essential access during the work. A self-contained enclosure may reduce some shaft work, but it does not remove the need to check supports, openings and landing junctions. Agree inspection points before concealed work is covered by finishes or lift components.
Step 4: Lift Installation
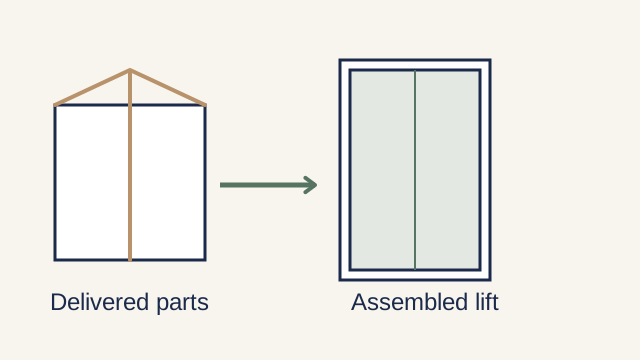
The registered installation team assembles and connects the selected system once the site meets the agreed readiness requirements. Rails, carrier, drive, doors and controls must be coordinated with the prepared openings and finished levels. Delivery to site is not the same as readiness to install.
Agree protection, work-area access and how the household will use essential rooms during this phase. If an interface differs from the drawing, resolve it through the responsible professionals rather than improvising around it. Keep the installation programme distinct from the later testing, certification and permit milestones.
Step 5: Testing, Certification and Permit to Operate
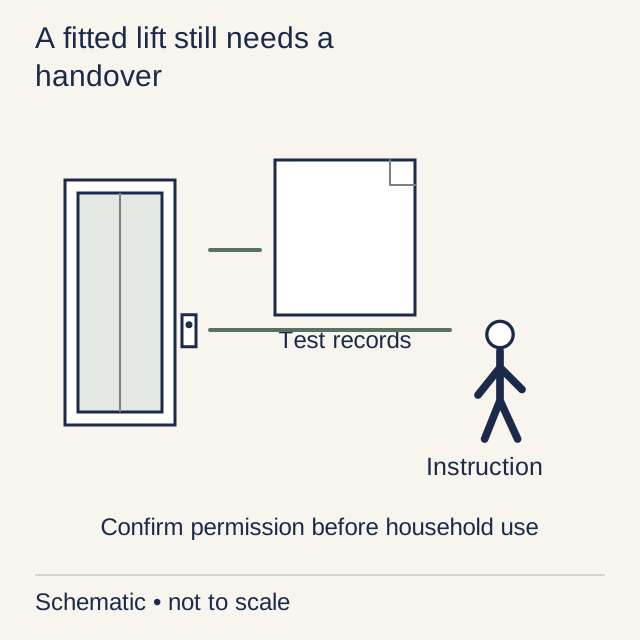
After installation, have the responsible professionals and registered FI contractor coordinate the required testing, certification and PTO application. Confirm the applicable process and completion records with them. Ongoing annual inspection/testing is separate from routine maintenance.
A regulated lift must have a valid Permit to Operate before it is used. Physical installation alone does not establish that it is ready for lawful operation; retain the permit and completion records with the equipment documentation.
Step 6: Handover and Owner Training
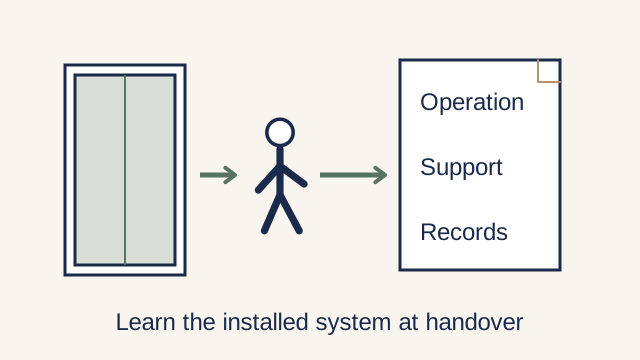
At handover, ask the provider to demonstrate normal operation, the installed emergency communication features and the model-specific power-failure behaviour. Obtain the PTO, manufacturer manuals, service agreement and support contacts. Do not assume every system provides a household-operated manual-lowering procedure.
Record finish defects, missing documents and unresolved operational concerns with the responsible provider and agree the completion process. Keep manuals, the PTO, training, service arrangements and emergency contacts together. The project is ready for household use only when lawful operation and a workable owner handover have both been established.
Home Lifts across Singapore
Need help with your project?
Tell us what you need on WhatsApp and send a few photos. We'll arrange a free site assessment, then give you a fixed-price quote within 3 to 5 working days.