On this page
View In PDFLarge floor tiles can create a calm appearance with fewer visible joints, but their cuts and joint positions need planning. The room's edges, doorways and floor condition affect the finished result. Review the layout and preparation with your installer before laying starts, when an awkward strip or badly placed cut is still easy to change.
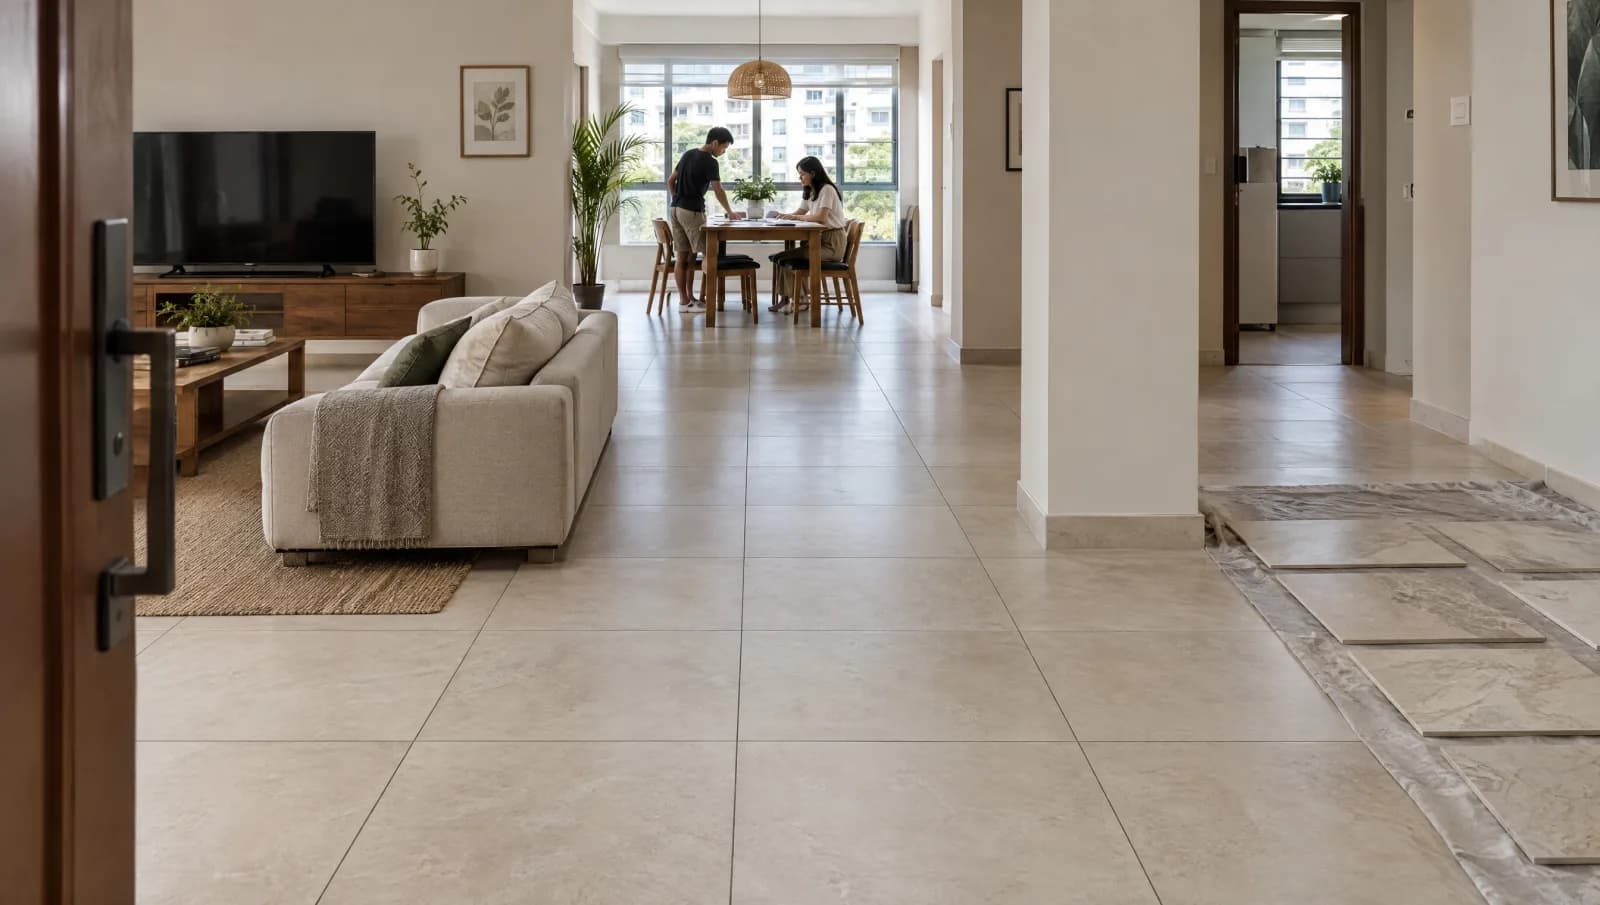
For a flooring project, large-format tiles work best when the selected product, the room's dimensions and the installation requirements are considered together. A larger face means fewer joints across a given distance, but it does not remove joints or make awkward edges disappear.
Look from the door before finding the centre
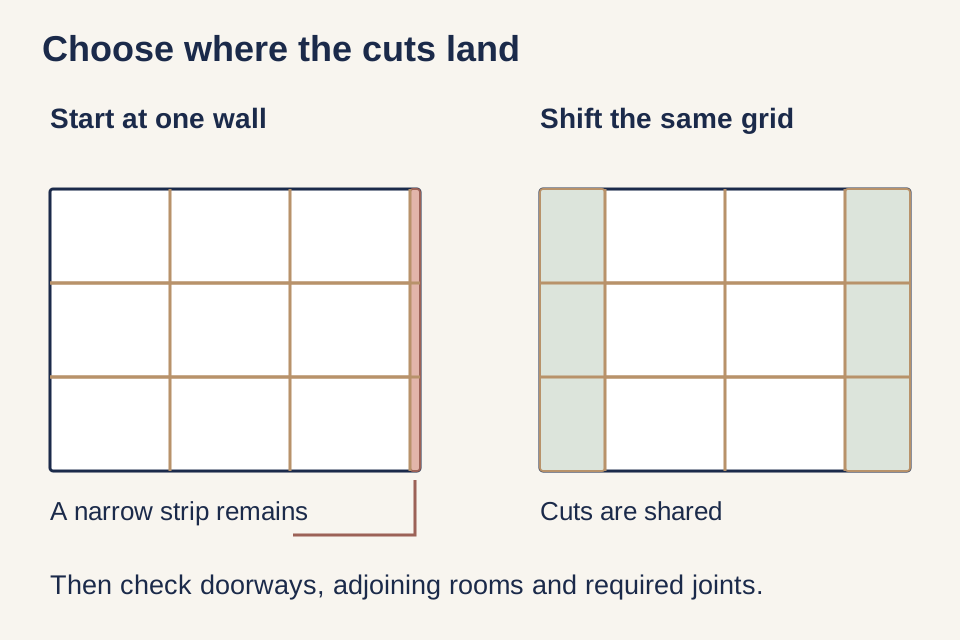
Stand where you will first see the finished floor. In a terrace house, that might be the entrance looking through the living and dining rooms. In a bedroom, it may be the doorway looking towards the bed. The strongest view is often different from the geometric centre of the room.
A grid centred on the living room can arrive slightly off-centre at a narrow passage. A grid aligned with the passage may leave unequal cuts along the living-room walls. Neither arrangement is automatically wrong. The decision is which relationship deserves priority, and whether the less prominent cuts still look deliberate.
Mark the furniture that will remain. A balanced border partly hidden under cabinetry may matter less than a thin strip that stays exposed across the entrance. Conversely, building the whole grid around a movable sofa can leave the room dependent on that furniture position. Use fixed walls, door openings and long sightlines as the first reference points.
The drawing is a conversation about priorities, not a rule to centre every room. Request a setting-out plan that shows actual room dimensions, the chosen tile dimensions and the proposed joint width. A computer image with invisible joints can disguise exactly the decision the drawing needs to resolve.
Make the joints part of the choice
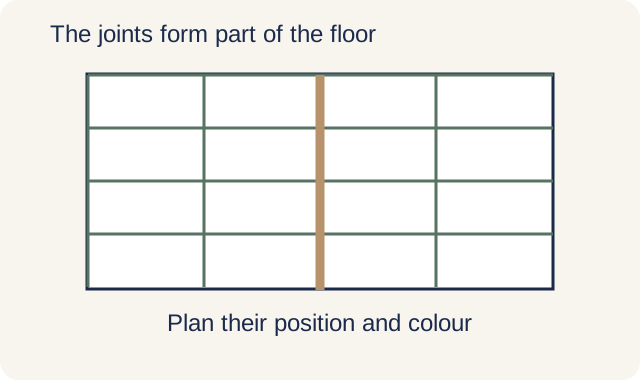
A grout colour close to the tile can make the grid quieter. A contrasting colour makes its rhythm more visible. The finish still needs an appropriate joint, and its width should follow the selected product and installation design. Choosing an almost invisible colour is a visual decision; demanding that the joint disappear is a different technical request.
Look at a sample arrangement with the proposed grout beside the actual tile, under lighting similar to the room. A tiny colour chip held vertically will not show the same relationship as a broad floor surface. If the tile has a printed stone pattern, review several faces together so a dominant vein or repeated motif does not come as a surprise.
There is also a distinction between ordinary grouted joints and joints intended to accommodate movement in the floor. A technical explanation of tile cracking makes clear that adding a crack-isolation layer does not remove the need to address movement joints. Their treatment belongs in the installation design, even when the visual aim is a continuous floor.
Have the contractor show how required joints will appear at room boundaries and through the proposed layout. They should not be improvised after the main field is laid. Where a movement detail interrupts a long sightline, its location and finish deserve the same attention as the decorative grout.
A staggered pattern also changes which edges meet
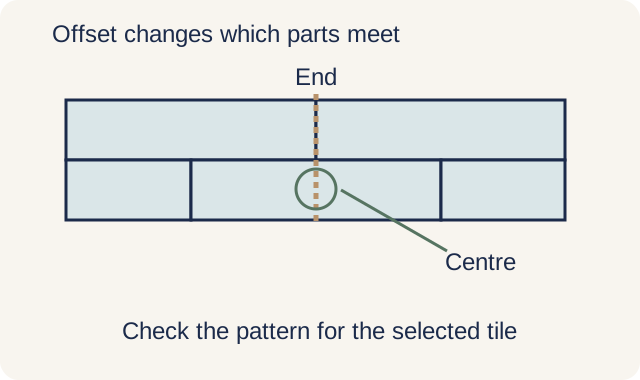
Long rectangular tiles can have some curvature. In a staggered pattern, the end of one tile may meet the middle of the next. If the middle sits higher, this arrangement brings unlike parts of the tile profile together and can make adjacent edges feel or look uneven. That edge difference is commonly called lippage.
The manufacturer’s explanation of large-tile grout joints and offsets describes this centre-to-end relationship. The practical response is to review the allowed pattern for the actual tile, together with its joint requirements. A familiar brick pattern from a small wall tile is not automatically suitable for a long floor plank.
A photograph of a completed room cannot prove that the proposed tile is suitable for the same offset. Its dimensions, manufacturing characteristics and installation may differ. If the stagger is central to the design, resolve it while selecting the product, with a physical sample layout where practical. Changing the pattern after delivery can alter the whole room’s appearance.
A broad tile face needs a prepared base
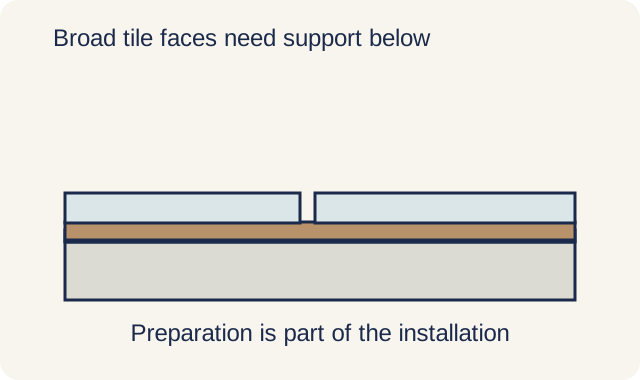
Large pieces span more of the floor beneath each tile. The installation therefore needs attention to the underlying surface and support, not simply careful alignment at the corners. The manufacturer’s large-format installation guidance places substrate preparation and mortar coverage among its central requirements.
For the homeowner, the useful discussion is what preparation has been allowed, how the selected adhesive and other installation materials suit the tiles and base and how the installer will verify the work. An unusually smooth surface in a rendering says nothing about the floor beneath it. Nor does the presence of tile-levelling accessories establish that substrate preparation has been completed correctly.
Agree how the first installed area will be reviewed before the layout continues. Look at joint alignment, adjacent edges, the chosen pattern and the finish in the room’s intended lighting. The applicable product and project criteria should govern technical acceptance; a passing glance under temporary work lights is a poor way to judge a floor that will receive strong light from a low window.
Follow the grid beyond the main room
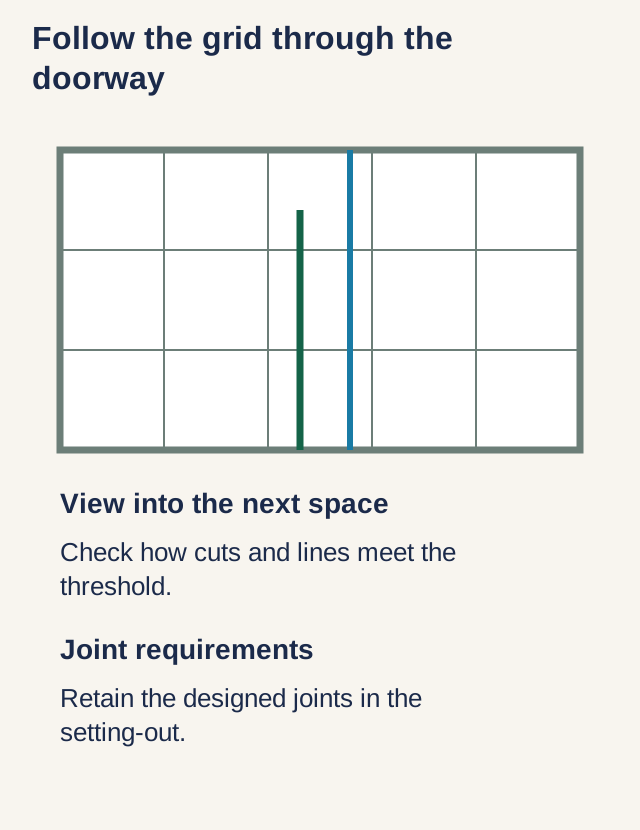
A large open floor looks effortless when it reaches the next space cleanly. Trace the proposed grid into the passage, around a column and across the doorway before approving the main-room drawing. A small change at the start can move a difficult cut somewhere more visible several metres away.
Wet areas need a separate discussion. A large tile chosen for a dry living room is not automatically the right format for a floor that must fall towards a drain. The drain position, changes of plane, tile suitability and waterproofing arrangement need to work together. Smaller pieces or deliberate cuts may serve that geometry better, depending on the design.
Tile size also affects handling and cutting logistics. Confirm that the selected pieces can be delivered to the room and that the installation scope allows for the required equipment and work area. In a lived-in landed house, the route around retained stairs, furniture and finished walls can matter as much as the generous dimensions of the room itself.
For quantities, distinguish laid area, material allowed for the chosen cuts and spare pieces retained for future repairs. There is no single waste percentage that describes every room and pattern. A diagonal layout, an irregular room and a straightforward grid do not produce the same cutting plan. The order should follow the agreed layout rather than an attractive rate per square metre alone.
The flooring buying guide covers the wider choice of material and installation. Keep this layout review close to that decision: a tile that looks right in isolation may demand a pattern or edge treatment you do not want. Another format in the same visual family may fit the room more naturally.
Before the final selection, return to the view from the doorway. Follow one joint across the room and see where it ends. That small act tests whether the floor has been composed for the house, including the parts that a large sample board leaves out.
Need help with your project?
Tell us what you need on WhatsApp and send a few photos. We'll arrange a free site assessment, then give you a fixed-price quote within 3 to 5 working days.