On this page
View In PDFIf damp patches or peeling paint keep returning on an exterior wall, another coat may cover the damage without stopping the water. First establish how moisture reaches the wall, especially around joints and openings. Once the cause is repaired and the surface is ready, the paint can do its proper job as the selected finish.
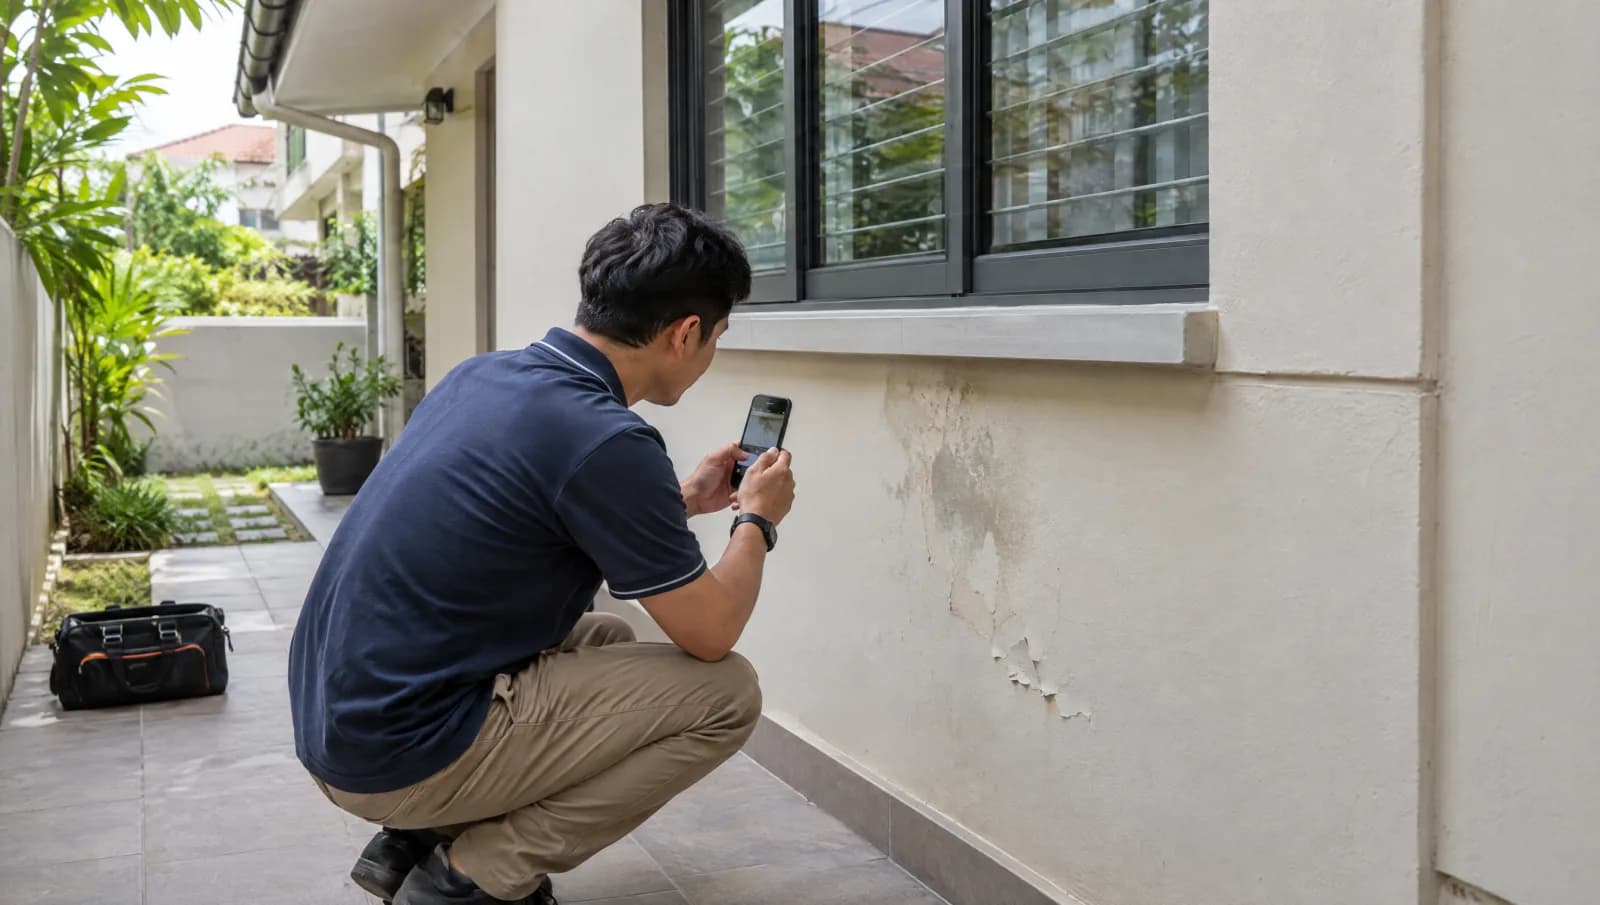
During a facade and exterior renovation, put recurring dampness into the scope before selecting colours. The contractor or appointed building professional needs to distinguish a coating problem from a defect in the wall, an opening or an adjoining detail. That distinction determines what must be repaired and what the repaint is expected to achieve.
The mark and the entry point may be different places
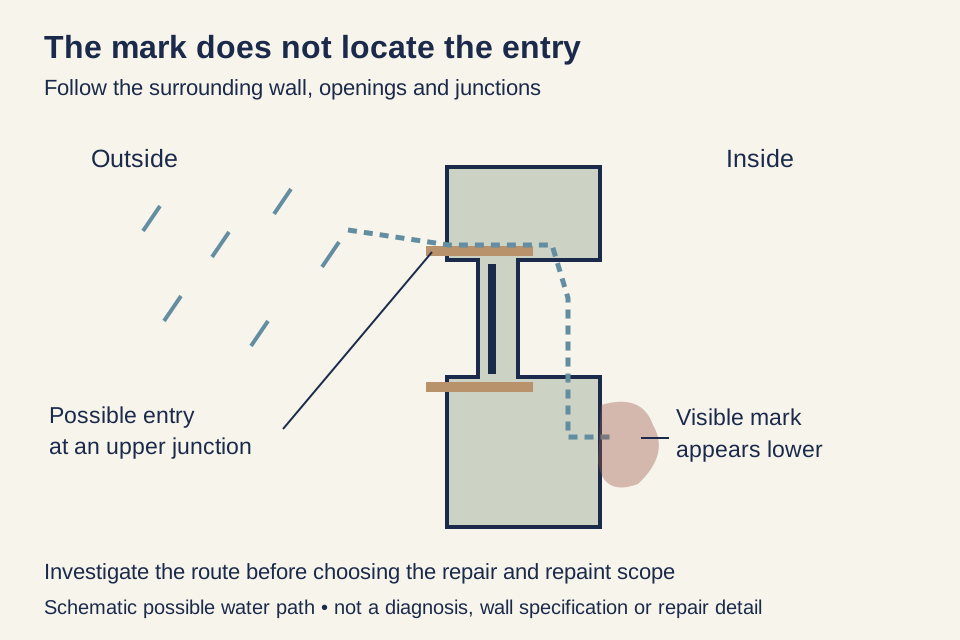
Rain reaches walls, projecting edges and the joints around windows, doors and other fittings. Water can enter at one of those details and travel within the wall before a damp mark appears elsewhere. The inspection therefore needs to consider the surrounding area, including the details above the mark.
If staining appears beside a window, the frame perimeter is one area to investigate. It is not the only possible explanation. The wall above, a nearby junction or another part of the opening may be involved. Treating the nearest visible joint as the confirmed cause can lead to a neat repair that leaves the actual route untouched.
Wall surfaces, joints and gaps around windows and doors can all provide water-entry routes. The inspection needs to consider how those details meet, including the wall-to-window junction. None can be identified as the cause simply from the position of an interior stain.
A sensible investigation follows a plausible route and tests it with an appropriate method. It should explain what supports the proposed cause and what remains uncertain. That is more useful than collecting several possible causes without deciding which part of the building needs attention first.
Give the inspection a useful history
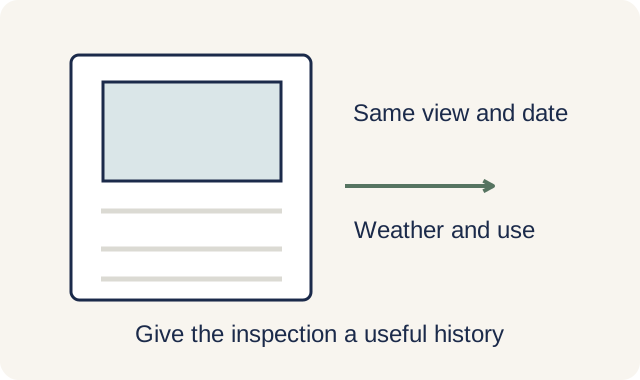
The homeowner can contribute observations without doing the technical testing. Note whether the mark appears during rain, soon afterwards or in unrelated conditions. Record the room, the wall face and the nearest opening. Photographs taken from the same position help show whether the affected area is growing, fading or recurring.
Include the recent work history. A stain that followed a new window, an exterior attachment or a change at the roof has a different investigation trail from a longstanding mark with no known trigger. The timing does not establish fault, but it gives the inspection a concrete starting point and helps the team identify the assemblies that may have changed.
Describe what happens indoors too. If moisture appears when there has been no rain, an investigation limited to rain entry may be too narrow. Leaks and condensation can both cause dampness. The observation should guide the assessment rather than become an instant diagnosis based on the colour or shape of a stain.
Keep these observations at accessible locations. Exterior inspection and any controlled testing should be planned by people equipped for the site and method. A homeowner does not need to climb the facade or direct water at a suspected joint to provide a useful account of the problem.
Check the proposed repairs around joints and openings
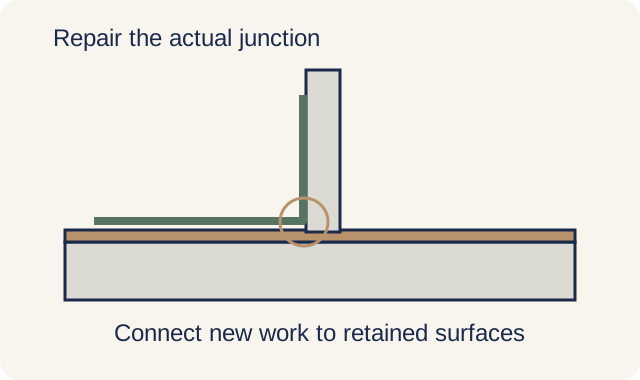
A proposal should say which part of the envelope is being repaired and how it meets the parts that remain. For a wall crack, the appropriate response depends on its cause and condition. For a failed joint, the compatible replacement detail and the adjoining surfaces matter. Describing every defect as a gap to fill avoids the question of why the gap is there.
The repair also needs a defined extent. If the identified route involves the window perimeter and the wall above, a quote limited to painting the wall face may omit the important interface. If the cause lies in an adjacent roof or drainage detail, the relevant work must be coordinated with the facade scope. Different trades may be involved, but the water route still needs one coherent explanation.
Ask the team to explain the sequence in plain language: what will be exposed or removed, what will be repaired, what must be inspected before it is covered and which finishes will be made good. That explanation allows you to compare proposals that might otherwise use the same broad phrase, such as waterproofing works, for quite different jobs.
A repair can reveal more than the initial inspection. The agreement should identify how newly exposed conditions will be assessed and how any resulting change will be priced and approved. This is particularly useful where the visible finish hides a junction that cannot be fully understood until appropriate access is available.
Let the paint system follow the repaired surface
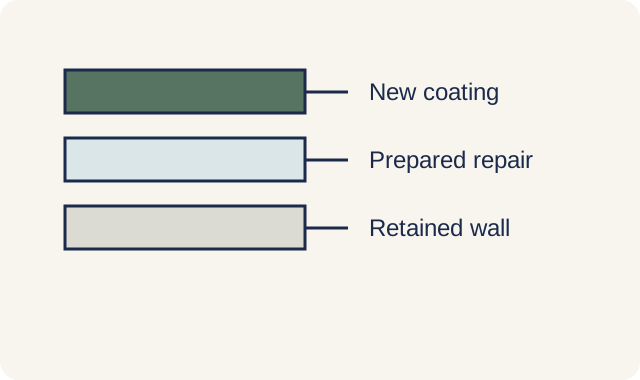
Once the cause and repair scope are addressed, the substrate must be suitable for the selected coating system. Loose or failed material, unsuitable existing finishes and residual moisture can affect the work that is needed before the new colour is applied. A quotation for a number of coats is incomplete if it does not explain the condition of the surface receiving them.
A sound, clean, dry surface and compatible coating sequence are required for this exterior masonry system. Confirm the requirements for the actual products in the proposal, including substrate preparation, weather and application conditions. A general brand category is not a paint specification.
Newly repaired areas and older retained areas may need different preparation before they can receive a consistent finish. Their texture can also differ. A smooth new patch on a textured wall may remain visually apparent even when the colour matches. Agree how the repaired area will blend with the surrounding surface before deciding how much of the elevation to repaint.
Allow time for repairs and drying before repainting. The contractor should check that the repaired wall is ready using the method required for that surface and the chosen coating. A generic waiting period cannot establish that a particular wall has dried sufficiently or that the repair is ready to be covered.
Verify the repair separately from the appearance
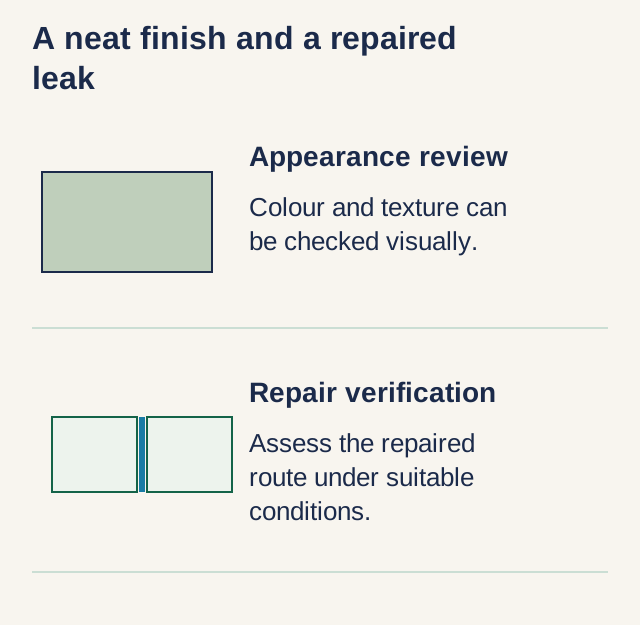
The finished colour and the water-entry repair answer different questions. A tidy elevation establishes an appearance result. It does not, by itself, establish that the original route has been resolved. Agree in advance how the team will assess the repaired area, including any appropriate controlled testing and subsequent observation under relevant conditions.
The limits of that assessment should remain visible. Dry weather after completion may leave less opportunity to observe the original trigger. A test should be suitable for the suspected entry point and the wall's construction, and its result should be explained for that scope. No single photograph or universal hose test proves that every part of an exterior is watertight.
At handover, keep the identified cause, repaired locations, products and care instructions together with the relevant photographs and agreed warranty scope. Distinguish the repair coverage from coating coverage and from adjacent areas outside the work. That makes a later recurrence easier to investigate without turning every new mark into a disagreement about what the original contract included.
The facade and exterior buying guide helps place diagnosis, repairs, access and finishing within one renovation scope. The immediate decision is straightforward: when water entry is unresolved, settle the repair before treating new paint as the solution. Then the chosen finish can complete a wall whose underlying problem has actually been addressed.
Need help with your project?
Tell us what you need on WhatsApp and send a few photos. We'll arrange a free site assessment, then give you a fixed-price quote within 3 to 5 working days.