On this page
View In PDFStart your exterior house colour shortlist with warm white, soft grey or a muted colour that works with the roof and window frames. The best choice is one you like on the actual house. Test the proposed paint beside those fixed finishes before committing to the whole exterior.
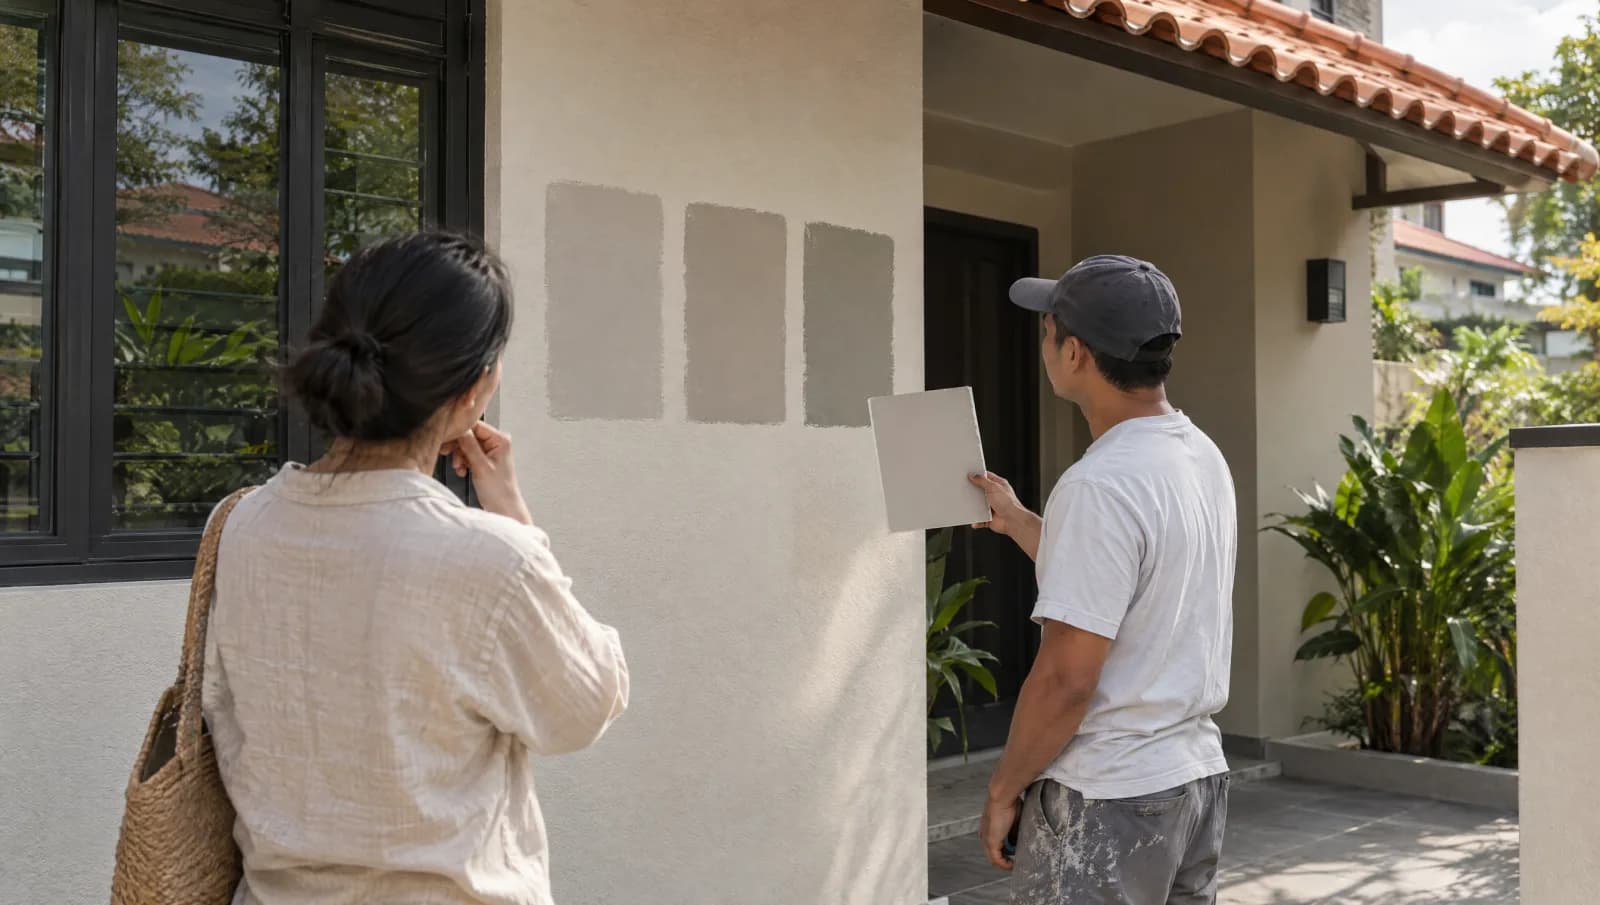
On a facade and exterior renovation, the test is a painted patch on your own wall, and it does two jobs. It gives everyone at home a real surface to judge, and it gives the painter a finish to match. Changing your mind about a patch is easy; changing it after the whole house is painted means painting it again.
1. Build the palette around the materials that will stay
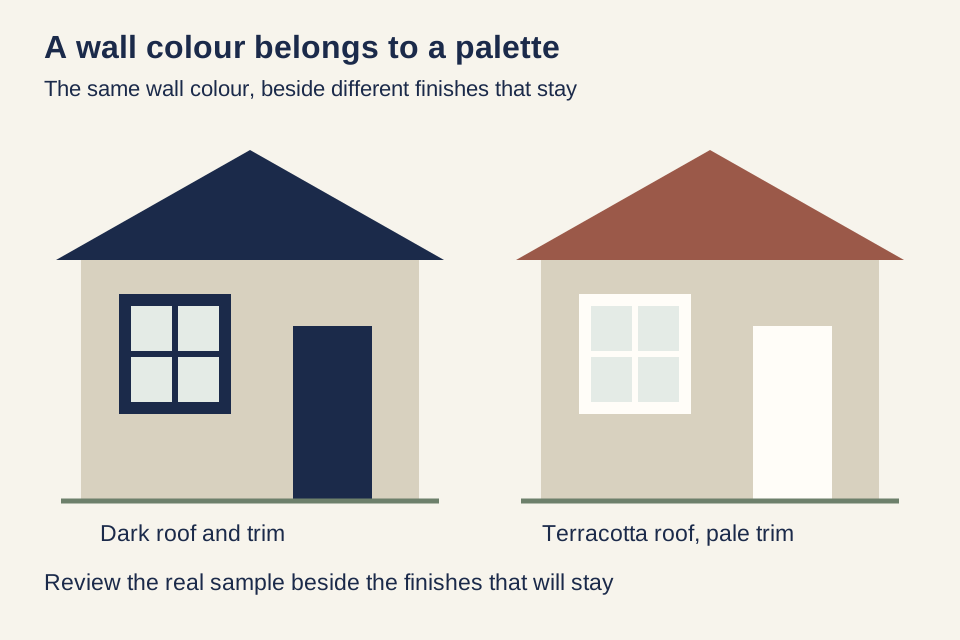
Start with the roof tiles, window frames, gates, visible stone, timber and paving that are not being replaced. These elements already set much of the facade’s colour relationship. A wall colour that looks calm on its own may feel very different beside a strong red roof or a dark metal frame.
Photograph the whole front of the house as a working reference, then look at the actual materials outside. The photograph helps you keep track of the combinations; the real surfaces show the variation and texture that an image can lose. Include the entrance recess and side walls if they are visible from the approach, rather than treating the facade as one flat rectangle.
Decide which elements should lead. You might want the wall to sit quietly behind timber screens, or you might want the entrance to stand out from the rest of the front wall. This is a design choice; an accent colour is optional. If several retained materials are already prominent, adding more colours can make the front look busy.
Turn that relationship into a shortlist. Give each candidate a reason to be there: it picks up a colour in the stone, softens the contrast with the roof, or makes the entrance easier to distinguish. Comparing those choices is more useful than placing unrelated shades across the wall and hoping one wins.
If you are unsure where to begin, use the combinations below as design starting points. Paint maker Teknos explains in its exterior colour guide that colours look lighter, more saturated and cooler on a big outdoor wall than on the colour card. It also notes that pure white stands out strongly, while slightly tinted whites blend in better with their surroundings. Its tip is to pick a slightly darker, more muted shade than the one you first liked. That is why the starting points below are tinted whites, soft greys and muted accents rather than pure white or a bright colour across the whole house. They are not a popularity ranking or a promise that a named shade will suit every house. The fixed materials and a real sample decide which version belongs on your facade.
| Starting palette | Where to try it | What to check on the sample |
|---|---|---|
| Warm white or pale beige walls | Beside a terracotta roof, warm stone or retained timber | Does the wall look too yellow beside the paving or window frame? |
| Soft grey or grey-beige walls | Beside grey stone, dark metal frames or concrete finishes | Does a shaded area look colder or duller than you wanted? |
| A neutral main wall with a muted green, brown or darker entrance accent | Where you want the entrance to stand out without giving every facade element its own colour | Does the accent work from the street as well as beside the front door? |
For example, keep a warm roof and timber screen in view while comparing a creamy white with a greyer white. Neither is automatically better. One may repeat the warm materials more closely; the other may create the contrast you prefer. If the screen will also change, settle the timber or aluminium facade screen material and finish before approving the wall colour around it.
If the property is conserved, confirm the permitted colour and works before arranging the painting. URA lists facade painting among Category 3 works to conserved buildings requiring Conservation Permission before work starts. URA can classify a proposal differently after reviewing its scope. Have the appointed team confirm the route for your house; this requirement is not a blanket rule for every landed property.
2. Settle the product and finish before judging the colour
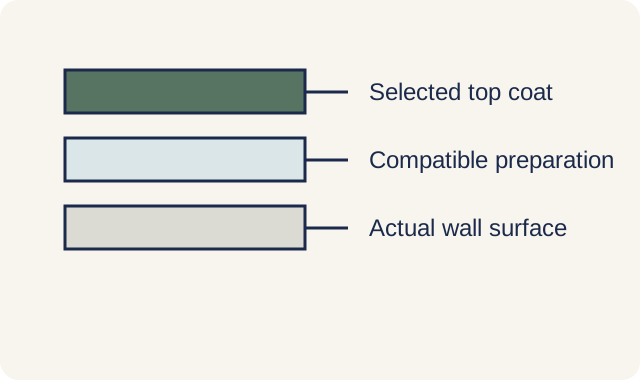
A colour name is only part of the proposal. The actual coating product, sheen and surface texture contribute to what you will see. A sample made with a convenient substitute cannot fully demonstrate the finish that the contractor intends to apply across the house.
Confirm that the proposed system is suitable for the surfaces in the scope. An exterior masonry wall, metal trim and timber feature are not automatically coated with the same product simply because they share a colour. The contractor should specify the compatible preparation and system for each material rather than stretching one paint description across the whole house.
As one masonry-product example, the Dulux Weathershield technical data sheet calls for sound, clean, dry surfaces with poorly adhering material removed. Confirm the preparation and coating sequence for the product you are actually using. If damp patches keep returning, investigate the exterior wall leak before repainting; accepting a colour does not settle the cause of the damp.
Texture deserves attention during the sample stage. A newly repaired patch can be smoother than the older wall around it. Light across that difference may remain noticeable even when the paint colour is the same. Decide whether the preparation and sample area represent the finished wall you are actually buying.
3. Put the sample where you can compare it with the house
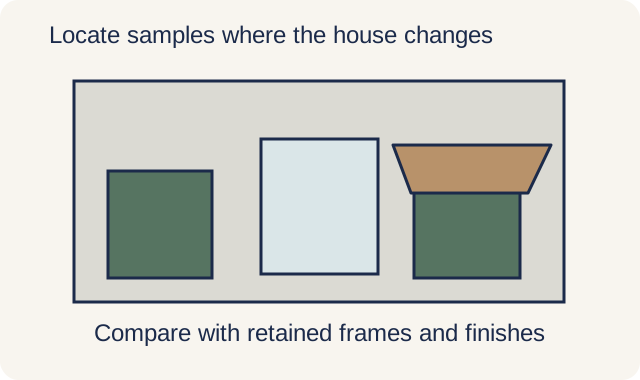
The sample panel needs enough area to read as a surface, with a useful relationship to a retained frame, roof edge or other relevant finish. Teknos’s exterior colour guide suggests painting about a square metre with a full, even coat, applied twice so you also see the sheen. That is one maker’s suggestion rather than a rule, so agree with the contractor where the sample goes and how big it should be.
Where parts of the house get very different light, one sample location may not answer every question. A wall in direct sun and a deeply shaded entrance can make the same finish read differently. Ask for a patch in each spot, or a painted board where a patch isn’t practical, and find out where a board will look different from the real wall.
Wait until the sample is fully dry before you judge it. Fresh paint can look different from the finished wall, so ask the contractor when the patch is ready to look at, and check it was painted with the same preparation and coats planned for the house.
Keep a loose sample board in the same orientation as the wall when reviewing it. The maker’s exterior colour guidance also explains that tilting a panel changes how it catches sunlight, and that the test material should match the actual surface. A smooth board can help with an initial shortlist, but it cannot fully show the texture of rough render.
A digital visualisation is useful for comparing where colours will go across the main wall, columns and entrance. Dulux’s colour visualisation guidance treats displayed colours as a guide and directs readers to physical samples. Use a screen to narrow the layout, then judge the shortlisted paint at the house. An attractive image is not a colour match guarantee.
4. Review the panel as you use the house
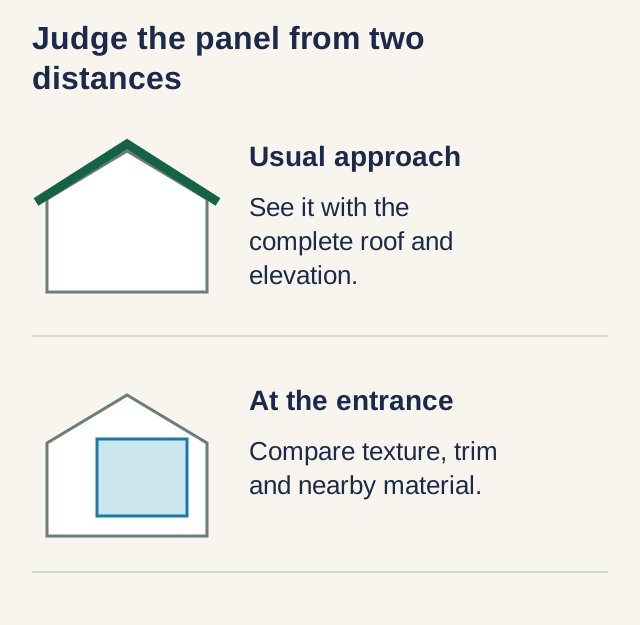
Begin with the view from the road or the usual approach. That distance shows how the wall sits with the roof and the rest of the house. Then move to the entrance and look beside the window or trim. A subtle difference that is almost invisible across the street may become the dominant impression when you stand at the front door.
See the panel in the lighting conditions the facade actually receives. Morning, afternoon and shaded conditions can reveal different relationships with the surrounding materials. You do not need to manufacture every possible weather condition, but one quick look in convenient light leaves a major part of the decision untested.
If exterior lights contribute to the entrance at night, include that view when it matters to the design. Look at it under the lights that will stay, or the new lights you are planning if they can be put up first. A temporary work lamp is not a fair test.
Keep the decision focused. Ask whether the wall sits well with the fixed materials, whether the contrast at the trim is intentional and whether the texture and sheen feel right at the relevant distance. These are more useful questions than trying to assign a universal description such as warm, modern or bright to the sample in isolation.
Photographs can record the review, but avoid deciding a close colour choice by comparing images from different phones or lighting conditions. The physical panel is the shared reference. Invite the household members who need to agree to see that reference before the contractor proceeds with the full area.
If two shades remain close, compare the same detail under both: the wall beside a frame, the shaded return at the entrance, or the patch above the paving. Decide which relationship you prefer and record why. Adding a third unrelated colour at this stage can restart the decision without resolving the difference between the first two.
5. Agree exactly what will be painted
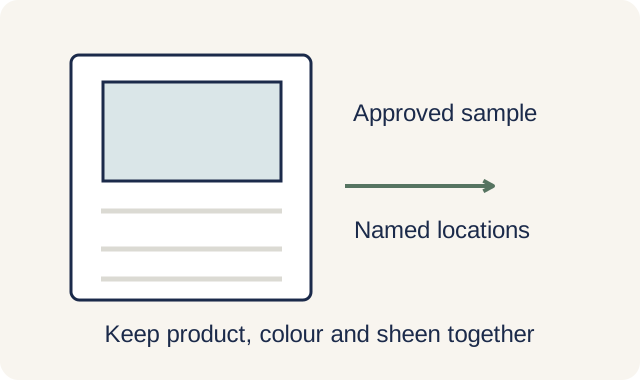
Once the panel is accepted, record the actual product, colour reference, sheen, surface preparation and locations where it will be used. Identify the sample that was approved and retain an agreed reference for the job. That is especially helpful where similar shades are assigned to the main wall and trim.
Keep a clear reference for the agreed paint finish
0 of 5 reviewed
Use this to track your review. Checks stay on this page while it is open.
If the proposed product or finish changes later, revisit the relevant approval rather than assuming the same colour label will produce the same result. The contractor should explain any practical difference in the replacement system and whether another sample is needed.
Ask for a marked-up photo or drawing of every side being painted, showing the agreed colour for each area. A note that says only “white exterior” leaves questions about the boundary wall, columns, soffits (the underside of the roof overhang) and window surrounds. Mark exclusions too, particularly existing stone, metal or timber that will remain untouched. Keep the accepted sample reference with that photo or drawing so appearance and scope are agreed together.
The facade and exterior buying guide covers the wider scope around access, surface condition and contractor selection. For colour, a good sample stage ends with one settled palette and an understandable finish specification. You should be able to point to the panel and say which parts of the house will receive that result.
Common questions
What is the most popular exterior house colour?
Paint maker Teknos lists crisp whites, greys, warm browns and blacks as popular choices among homeowners in its exterior colour guide. That is one maker’s general view, not a count of Singapore houses. Popular is not the same as right for your house; the roof, window frames and stone you are keeping matter more, so start from the warm white, soft grey and muted accent palettes above and test them beside those finishes.
Which exterior colours should I avoid?
Be careful with pure white and with bright yellow or red across the whole house. In its exterior colour guide, Teknos notes that pure white stands out strongly, and that bright yellows and reds look more intense on a big outdoor wall than on the colour card. Still, no shade is wrong for every house; a strong colour may suit an entrance but be more than you want across the whole facade. Judge it on a real sample beside the materials you are keeping, not on a screen or small indoor card, then check any conservation restrictions and make sure the selected coating is suitable for that exterior surface.
What colour makes a house look expensive?
No colour guarantees an expensive appearance or a higher resale value. For a more settled design, try a restrained palette that works with the roof, frames and paving, then pay attention to surface repairs and clean boundaries between finishes. Even a colour that looks expensive won’t hide an uneven repair or a damp patch.
Why do two white samples look so different?
White paint can have a warm, cool or grey undertone. The roof, paving, wall texture and light around it affect the comparison, so a white that looked neutral indoors may read differently outside. Keep the intended product and finish consistent while comparing samples; otherwise you are changing more than the colour.
Need help with your project?
Tell us what you need on WhatsApp and send a few photos. We'll arrange a free site assessment, then give you a fixed-price quote within 3 to 5 working days.