On this page
View In PDFWhen aircon piping is installed, the refrigerant pipes and the drain pipe that carries water away from each indoor unit both need a planned route. Decide where the water drains, the pipe slope, insulation and access before the ceiling or cupboards close. A tidy concealed bundle can still leave a drain trapped behind a beam or an inaccessible connection.
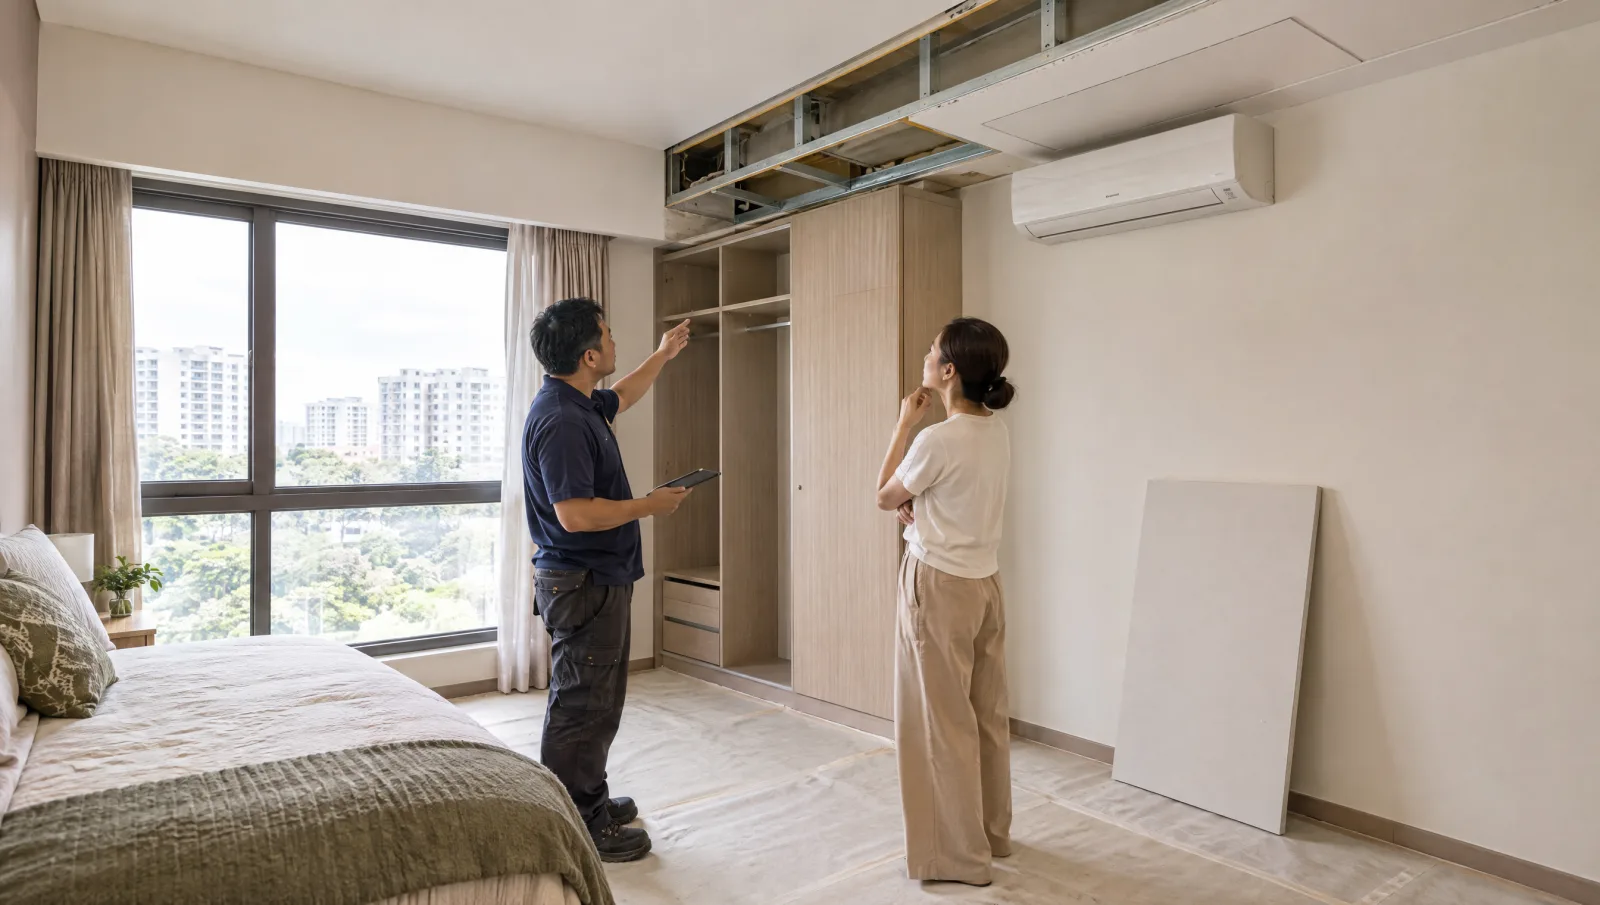
During aircon installation, the water route deserves its own drawing. Daikin explains that moisture condenses into droplets as air is cooled inside the unit. That water needs to reach an appropriate discharge point without becoming a leak inside the room.
The homeowner’s part is to agree the appearance and preserve access. Pipe sizing, electrical provision, supports, connections and testing belong to the qualified installer and relevant trades. Look from inside the room only. Opening covers, going up to the roof and anything inside the ceiling are the installer’s job.
Decide where the aircon water will drain
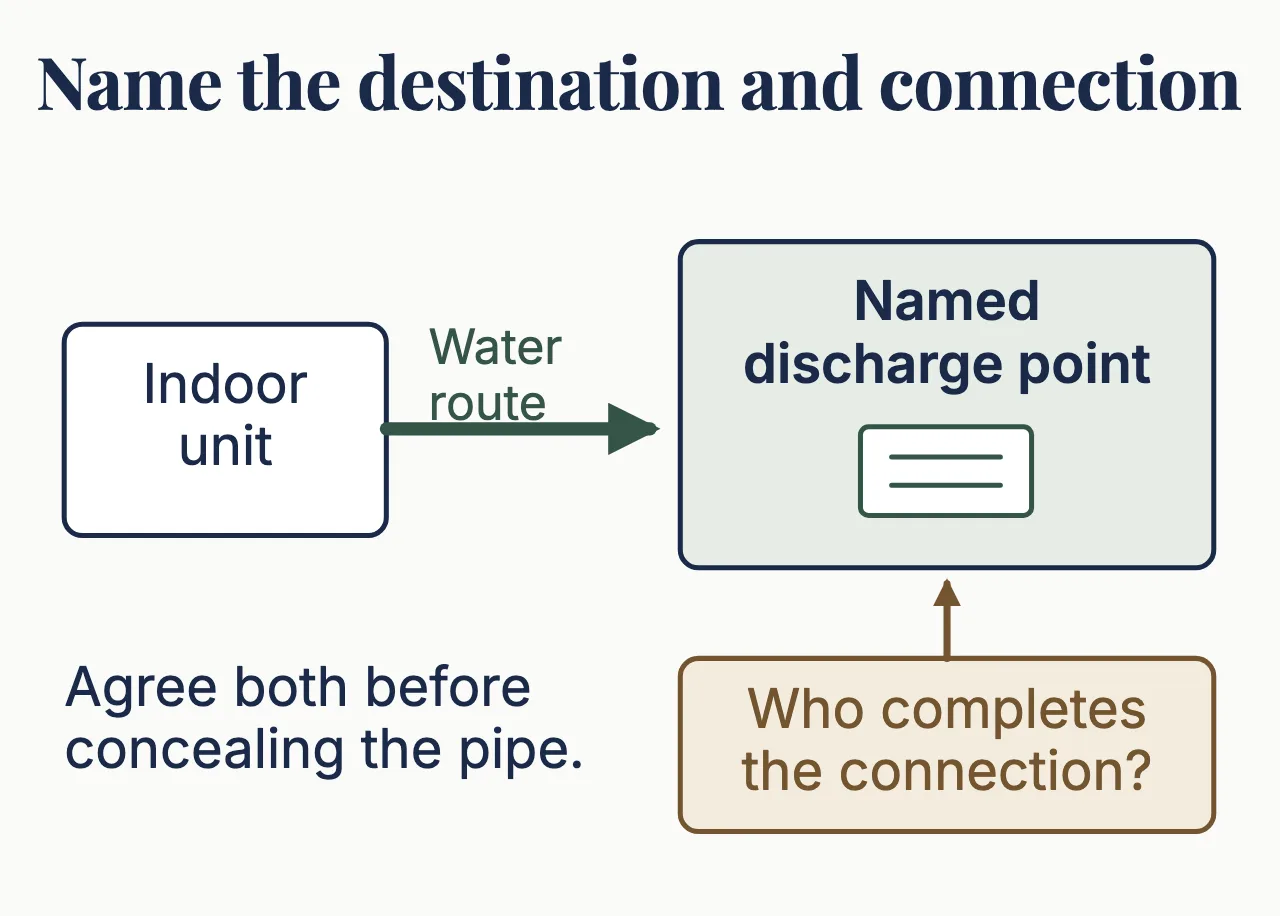
Begin at the destination, not at the neatest place to hide the pipe. An indoor unit beside a bathroom may have a practical route, but a nearby drain is not automatically an appropriate connection. What decides it is PUB’s rule on where aircon water may go.
PUB’s discharge requirements say aircon condensate goes to the stormwater drainage system. Where the premises have no surface outlet connected to stormwater drainage (PUB gives HDB and condominium units as examples), the condensate can go into a sewer through a floor trap. Either way, PUB says condensate shall not be discharged in a way that causes a public nuisance. That rule decides where the water may end up. It is not permission to use any convenient pipe.
The drawing should name the discharge point and who completes the connection. This lets the aircon and plumbing trades agree the route before a ceiling contractor encloses it. A line ending with 'nearest drain' leaves the important decision for someone else on site.
Water used to wash the aircon during servicing is a separate case. PUB’s requirements say used water from washing air-conditioning units shall go into the sanitary or sewerage system, with stormwater drainage allowed only for an air-handling unit outdoors or on a rooftop where no sanitary system is available. So a condensate line that runs to stormwater drainage is not the place for wash water. Ask whoever services the units where the wash water will go.
Show the pipe’s slope on a side-view drawing
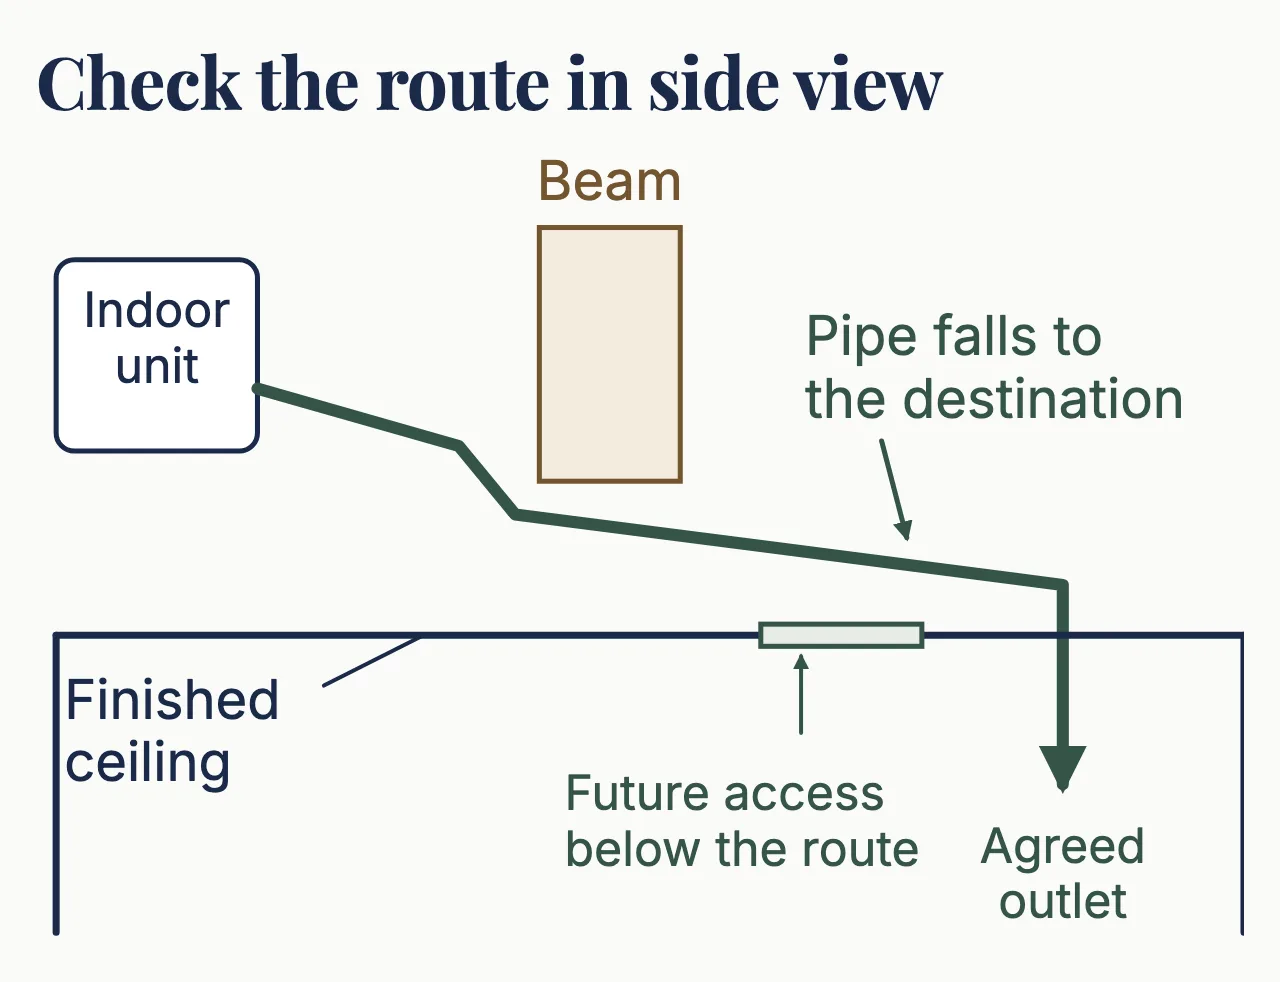
A gravity drain needs a workable downward route from the indoor unit to the outlet. Any stretch that rises over an obstacle or sags between supports holds water instead of carrying it away. A floor plan shows horizontal distance but cannot establish that the pipe fits over a door or past a beam while maintaining its designed fall. A side-view drawing resolves that problem.
The slope and pipe size come from the chosen model’s installation manual and the real ceiling levels, so ask the installer to mark both on the drawing. If the design includes a condensate pump, that pump’s own instructions apply to its part of the route.
Show the beam, finished ceiling, wardrobe top and other services on the same section. Include the space occupied by insulation and fittings. A route that fits as a thin line may not fit as an installed pipe bundle.
Where the route clashes with the room, there are four ways out, and each changes something you will live with. Moving the indoor unit changes where the route starts and where the air blows. Lowering a local bulkhead gives the pipe room to fall but loses ceiling height along that strip. A different outlet still has to meet PUB’s conditions above. A condensate pump adds a power point, plus a part that needs service access and a plan for when it fails. Settle the choice while the ceiling is still open.
Coordinate the drain separately from the refrigerant pipes
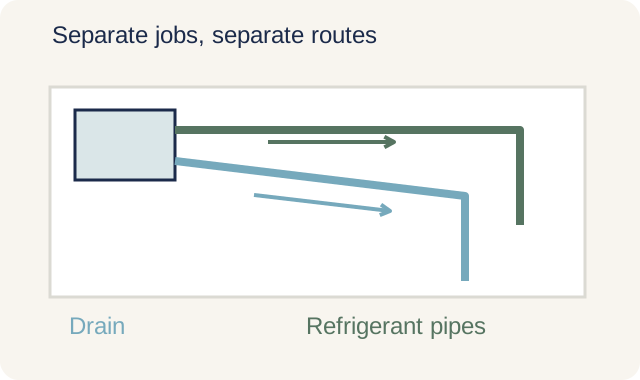
Refrigerant pipes carry refrigerant between equipment; the condensate drain carries collected water away. They may share visible trunking but do not follow identical design rules.
A renovation that opens the ceiling is also the time to decide whether to replace the aircon piping. While the old refrigerant pipes, their insulation and the drain are exposed, ask the installer to check them and say which will be reused and which replaced, because changing them later means opening finished ceilings or carpentry. New units also need a pipe run that suits the new model. Mitsubishi Electric’s FAQ says restrictions on pipe length and size must be followed strictly according to manufacturing specifications, and that existing piping can be reused with its air conditioners if the old pipes are flushed and vacuumed.
An aircon pelmet or bulkhead is a built enclosure used to conceal a unit or its routes, depending on the design. It needs to preserve airflow and service access as well as appearance. Show what it contains before the carpenter fixes its depth and panels.
A removable panel only helps if the relevant connection can be reached through it. Locate that access with the installer, then have the affected trades agree openings, supports and reinstatement. Check the other trades’ drawings against the drain as well. A joinery drawing can put a fixed panel over the drain connection, and an electrical route can take the space the drain needs to fall. A penetration through an external or waterproofed surface also needs a sealed opening agreed with whoever does the waterproofing.
Whether to hide the pipes or leave them in trunking comes down to what the side-view drawing shows. Hiding them in a false ceiling or bulkhead works when the insulated drain keeps its fall past beams and door heads, and an access panel can sit under the connection, clear of fixed furniture. Visible trunking, or a pelmet box built along the wall, suits a room without the ceiling depth for that fall, a connection that would end up above fixed joinery, or a room that isn’t getting a false ceiling. The aircon quotation scope check helps keep the chosen enclosure, access panels and making-good work in the price.
Insulation and drainage solve different water problems
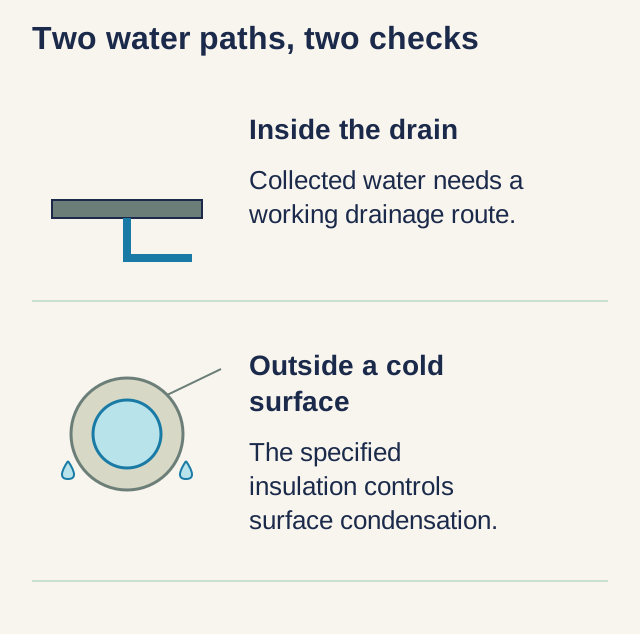
Water can wet a ceiling by escaping from the drainage system or by condensing on the outside of a cold pipe. A stain does not identify which has happened. A drain-cleaning visit cannot be assumed to resolve an insulation defect.
Mitsubishi Electric’s installation FAQ addresses adequate insulation on refrigerant and drainage pipework. The selected materials and their treatment at joints should suit the installation. Thickness quoted for a straight run does not establish continuity at a compressed corner or connection.
Before concealment, the installer should inspect the installed route and insulation against the specification. Room-referenced photographs can show what was accessible at that stage.
Not every drip is a fault. Daikin Singapore’s FAQ says it is normal for water to drip from the outdoor unit, because warm air condenses around the cold pipe connections, and that water leaking at the indoor unit means water isn’t draining out of the drain pipe or is trapped in a pipe blocked by dirt. The maker behind the insulation advice above gives the same two answers, calling water from its outdoor unit during Cool and Dry operation normal and an indoor-unit leak normally a blocked drainage pipe.
So water from the indoor unit, or a wet patch on the wall or ceiling under the route, is not normal, and a patch along a concealed route could come from either water path above. Switch the aircon off with its remote, move anything electrical out from under the indoor unit, and note where and when the water appears. Leave the unit, its wiring, the drain and the ceiling to a qualified technician. A drain that is working shows no drips from the indoor unit and no stain below its route, and where the agreed outlet can be seen from a safe place, water reaches it once the aircon has been cooling for a while.
Leave access where the drain will need maintenance
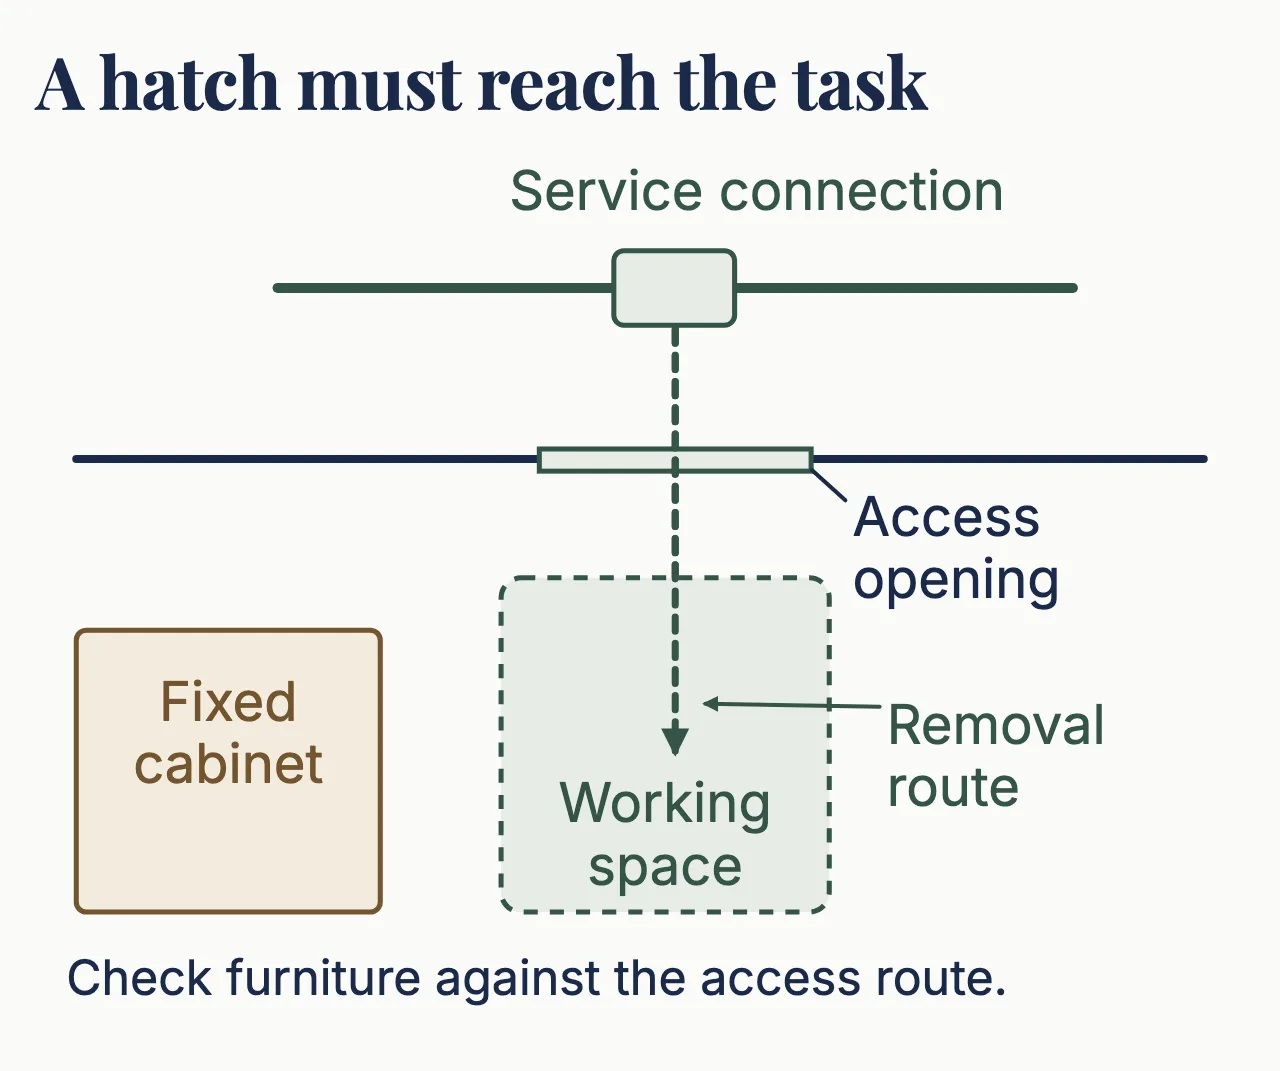
Access needs to match the task. A small hatch may show a pipe while leaving no space to clean a connection or remove a component. Ask the installer to demonstrate the working and removal route on the drawing before the ceiling is closed.
If a condensate pump is proposed, include its service access, power and fault response in the scope. The installer should explain what normal pump behaviour looks like for that model and who to contact if it keeps running, alarms or leaks. A pump hidden permanently behind cabinetry becomes a repair problem when attention is needed.
Then place the room’s furniture under the access points. A hatch directly above a fixed full-height wardrobe may be visible on the reflected ceiling plan and unusable in the finished room. Moving it later can mean opening a surface that has already been painted.
The aircon buying guide connects these access decisions with system choice. If your aircon still isn’t cold after a service, that’s a different problem, covered in our guide to an aircon that isn’t cold after servicing.
Inspect and test the drain before closing the ceiling
Before the ceiling is closed
- Route accepted
The final route, discharge destination and responsibility for the connection are recorded.
- Installation checked
The installer has completed the relevant inspection and drainage check, with any defects resolved.
- Access preserved
Panel positions and working access agree with the finished ceiling and furniture layout.
- Record retained
Room-referenced photographs and the final route are included in the handover information.
Treat the installer’s checks as a condition for closing the ceiling. The route, insulation, relevant connections and drainage need the specified inspections and commissioning checks, with defects resolved while they remain accessible.
A useful record identifies the units and routes checked, the discharge destination and the result. It also locates service panels. 'Water tested' without a location or outcome gives a later technician little help.
A good check before closing doesn’t mean the drain will never need attention. The handover should explain how the drain is normally looked after and what to do if water appears where it shouldn’t.
Bring the ceiling plan, the furniture layout and the positions you want for each indoor unit to our free site assessment. We measure the ceiling space and the route each drain will take, and arrange the aircon specialist. Before the ceiling is closed, we check each drain’s route, its outlet and the access panels with our specialist, so you know where the water goes and how it can be reached in the finished room. Our fixed-price quote follows within 3 to 5 working days of the assessment, never from a photo.
Common questions
Can I repair or clear an aircon pipe myself?
Leave refrigerant work, concealed drain repairs and opening equipment to a qualified technician. The safe homeowner task is to note the symptom and location. Do not pour chemicals into an unknown drain route or reach into electrical equipment.
What does an aircon leak check involve?
There are two different leaks. Water dripping from the indoor unit points first to a drain pipe that isn’t clearing, so that check is on the drain. A refrigerant leak is work for a qualified technician, and Mitsubishi Electric’s FAQ says simply adding refrigerant to a leaking system is not a solution. The maker’s order is a pressure test to find the leak, then the repair, then charging the system with the correct amount of refrigerant. A quote for a leak check should say which of these checks it covers and how much access to concealed pipes it includes.
Need help with your project?
Tell us what you need on WhatsApp and send a few photos. We'll arrange a free site assessment, then give you a fixed-price quote within 3 to 5 working days.