On this page
View In PDFTo find out whether a home lift fits, distinguish the cabin space from the space needed to install it. The shaft, building opening, doors and landings each have their own dimensions. A brochure footprint is a starting point; the coordinated installation drawing is what the project team needs before altering floors or confirming the layout.
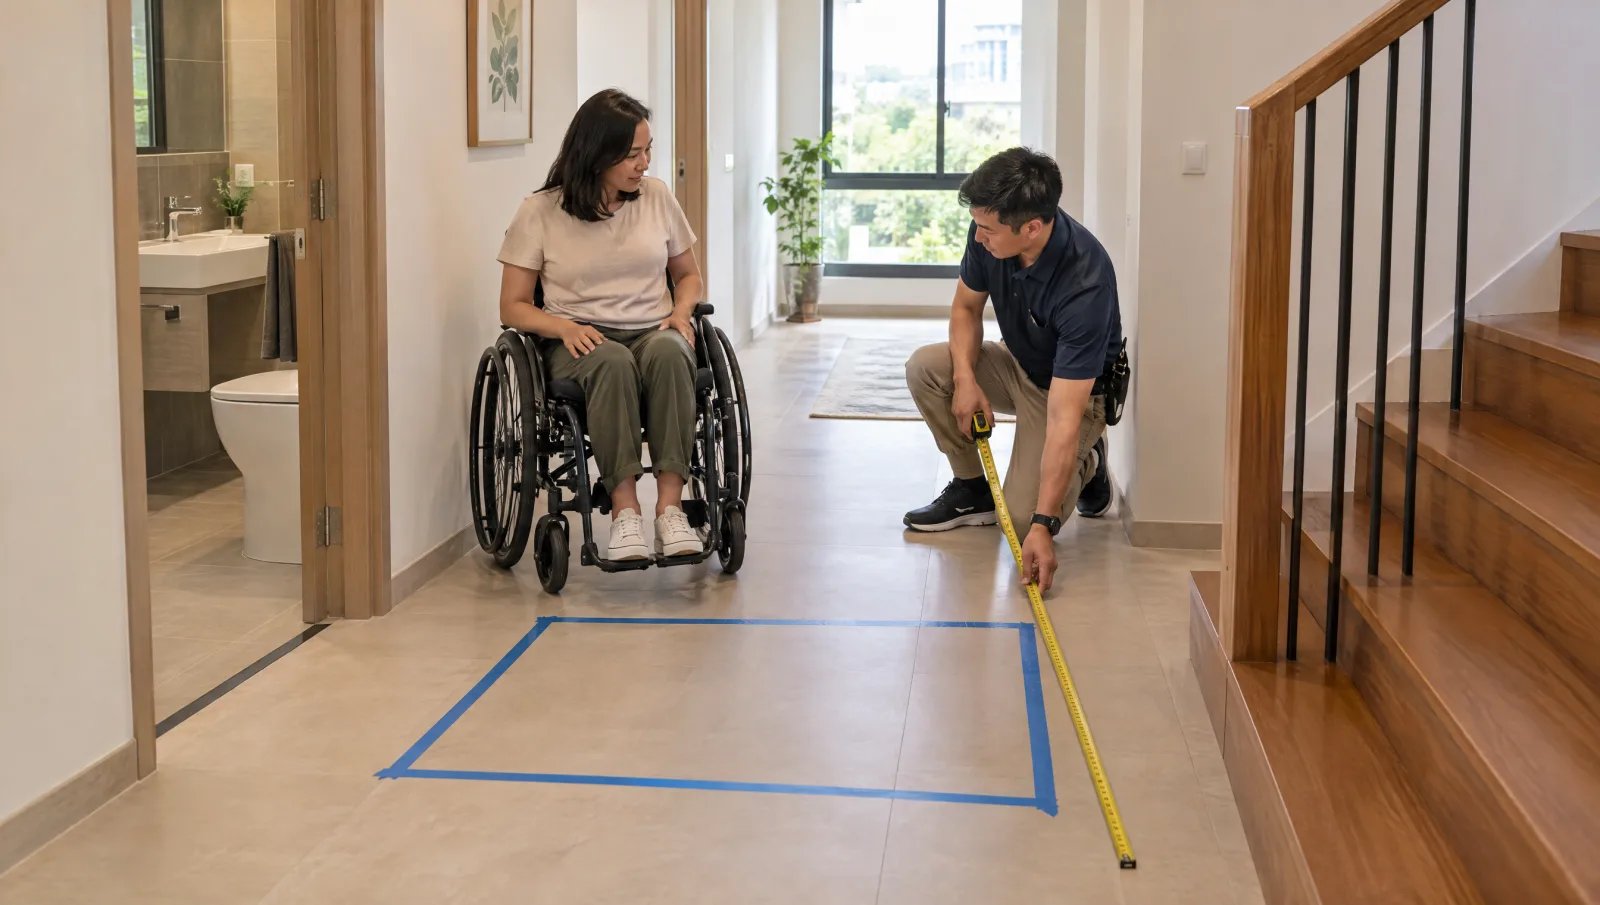
That distinction is useful before you ask whether a home lift can fit your landed house. A compact enclosure may occupy a promising corner while its doorway, landing approach or supporting work makes that position unsuitable. Start with the person’s journey, then check the equipment and the building around it.
Read the label before the number
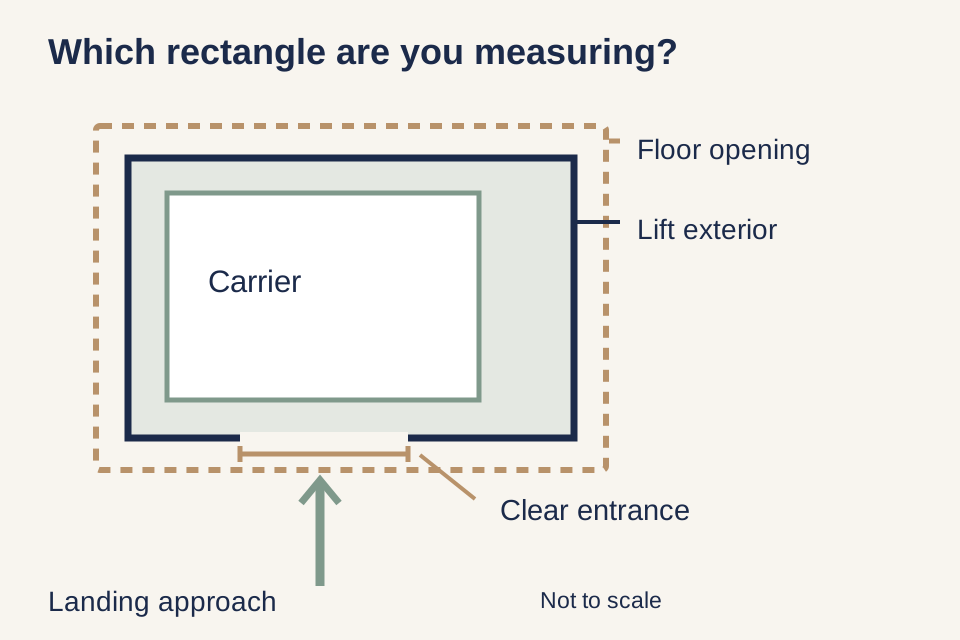
A dimension has meaning only when you know its two endpoints. “Width” might describe the platform, the outside of a supplied shaft or the clear space through a doorway. All three could appear on the same proposal. Copying the most attractive number onto a floor plan can make a lift seem smaller than the installation it needs.
For a concrete example, one compact platform-lift specification lists a 580 × 805 mm carrier and an 840 × 880 mm exterior for its smallest configuration. These are two measurements of that configuration, not competing statements about its size. Neither pair establishes the clear door opening or a construction opening for your house. The example also does not establish wheelchair suitability or local availability.
The useful habit is to keep the labels attached when forwarding dimensions. Send “external lift dimensions, width × depth, from this drawing revision” instead of “the lift needs this much space”. The first statement gives the designer something identifiable to check; the second leaves them to guess what was measured.
Check the space inside the lift and through its doorway
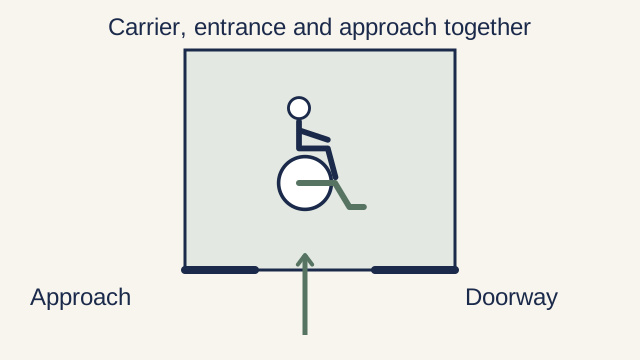
The carrier or platform is where the user travels. Its published dimensions help you rule out an obviously unsuitable configuration, but practical access includes the approach, door opening, controls, any handrail and the route out at the next floor. A rectangle alone does not show those conditions.
If a person uses a wheelchair or walking aid, bring the actual equipment dimensions and describe how they will enter and leave. Include anything normally carried, and whether another person needs to travel with them. The installer can then check the selected lift layout against that use. Where transfers or mobility needs are uncertain, an appropriate mobility assessment should inform the brief before the equipment is ordered.
Door orientation matters here. An entrance on one side of the lift can create a different journey from doors on opposite or adjacent sides. A landing that works well for an unassisted pedestrian may be difficult when a user must reverse out towards a staircase. Ask for the proposed arrival position on each floor to be drawn, rather than assuming the same arrangement works throughout the house.
Allow for building work beyond the lift’s outside dimensions
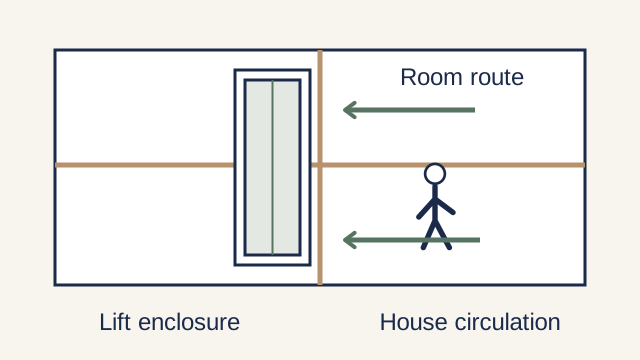
Some home lifts arrive with their own enclosure. In that case the external width and depth describe the supplied enclosure, while the surrounding building may still need openings, supports and finished junctions. Other designs have a different shaft arrangement. Compare the same boundaries when reviewing alternatives.
The installation preparation for a modular lift can still include openings between floors, depending on the position and configuration. A supplied shaft therefore does not answer who prepares the house. The proposal needs to connect the equipment drawing to the builder’s drawing, including the top, base and every landing.
This is also where a seemingly unused corner can become valuable household space. Draw the lift exterior on each floor, then add the doors, circulation and any affected furniture. If the lift sits beside the only route to a bathroom, that route deserves the same attention as the lift itself. A small footprint is useful only if the space around it continues to work.
The floor opening belongs to the installation drawing
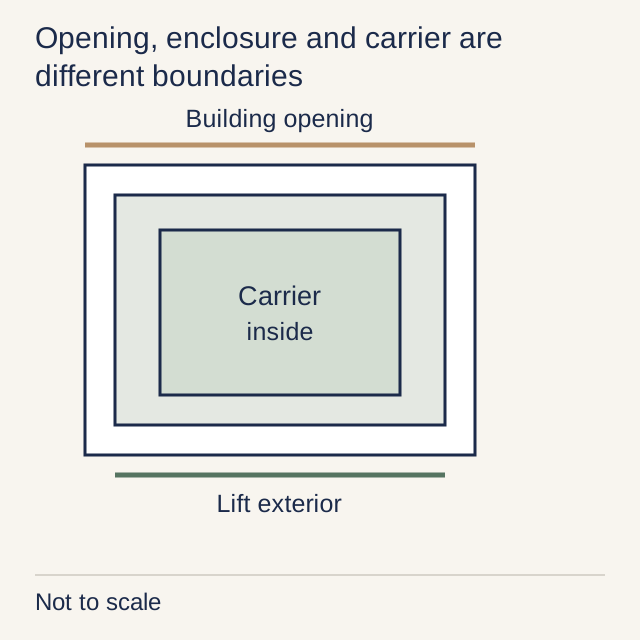
Manufacturers may publish cut-out dimensions as well as carrier dimensions. One platform-lift technical page explicitly distinguishes platform size from the minimum pit and floor cut-out. The important lesson is the separation, not a universal allowance you can add to any lift.
Do not subtract one brochure number from another and adopt the difference as a construction tolerance. The required opening depends on the selected system and its project configuration. Ask the supplier to identify the drawing revision, entrance arrangement and installation conditions behind the dimensions the builder is expected to use.
The building question then needs its own assessment. A clear patch of floor can still contain structural members or services. Where structural work is involved, the appointed professional must resolve the design and applicable approval requirements; BCA’s structural-plan process identifies the Qualified Person’s role. A brochure drawing is not permission to cut a slab or alter a beam.
The homeowner’s useful contribution is accurate context: available house plans, photographs of each proposed landing and information about previous alterations. Mark anything you know to be uncertain. A measured survey and professional assessment can then replace those uncertainties with a coordinated proposal.
Look up and down, as well as across
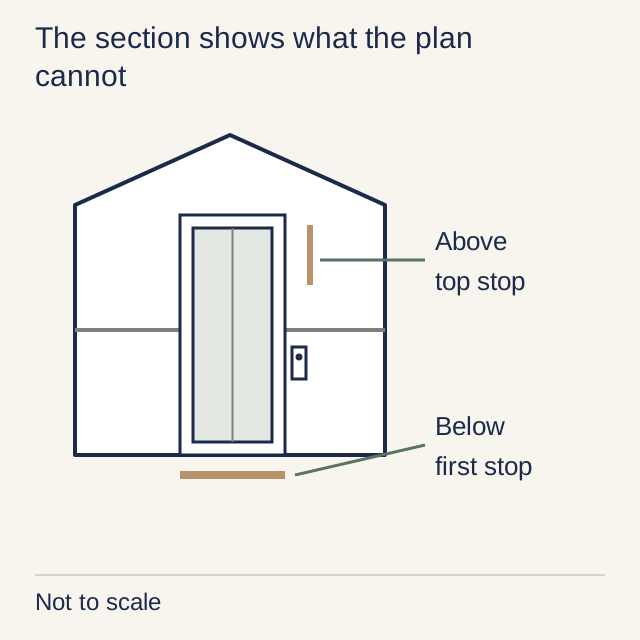
A plan shows width and depth. A section through the house shows the vertical journey: finished floor levels, lift travel, the lower landing detail and the space above the highest stop. Review both before settling on a location.
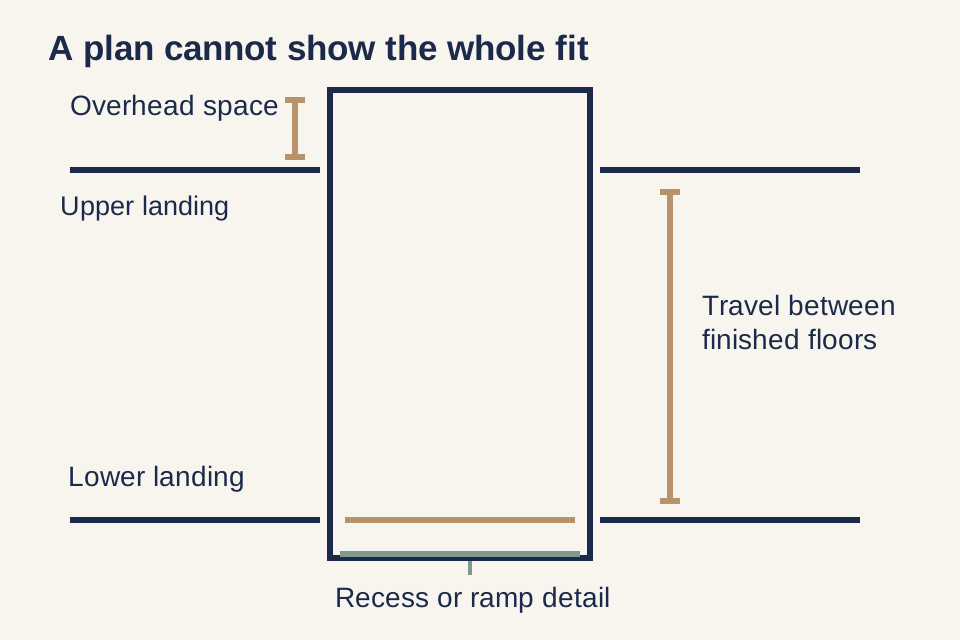
“Pitless” needs a detail beside it. A design that avoids a recessed pit may use a ramp or another specified entrance arrangement. Ask how that detail meets the finished floor and how it affects the approach. The term does not by itself promise a level threshold, eliminate building work or settle the suitability of the existing floor.
Likewise, check the actual space above the upper landing. A sloping roof, ceiling feature or beam may affect a position that looks straightforward on a floor plan. Let the supplier mark the required overhead dimension against the measured house section. Keep finished floor levels and structural levels clearly distinguished so flooring changes do not quietly alter the agreed entrance detail.
Put the drawings beside each other before comparing fit
| Boundary | What it answers | What to request |
|---|---|---|
| Carrier or platform | Can the intended user occupy the travel space? | Dimensioned internal layout and relevant fittings |
| Lift exterior or shaft | What equipment occupies each floor? | External dimensions for the exact configuration |
| Floor opening | What opening does the installation need? | Coordinated installation and structural drawings |
| Clear doorway | What opening can the user pass through? | Clear width, door type and orientation |
| Landing approach | Can the user approach and leave? | Furniture, doors and circulation on each floor |
| Vertical fit | Can the lift serve the finished levels? | Section with travel, overhead and lower landing detail |
A useful comparison does not need a score for “space efficiency”. It needs consistent labels and visible unknowns. Request the following information for each proposed configuration, with the same intended users and stops.
If one proposal supplies a carrier dimension and another supplies an enclosure dimension, the comparison is unfinished. Request the missing boundary rather than declaring the first lift smaller. If both fit geometrically, move on to landing usability, building intervention and continuing support. Those are different reasons to prefer a scheme, and each deserves an explicit explanation.
If Position A preserves more bedroom floor area but leaves an awkward approach at the upper landing, while Position B uses more internal space but provides a usable arrival, the better choice depends on the person’s journey. Ask the designer to show what changes would resolve Position A’s approach. That is more informative than choosing by the smallest advertised footprint.
What to bring to a lift-fit discussion
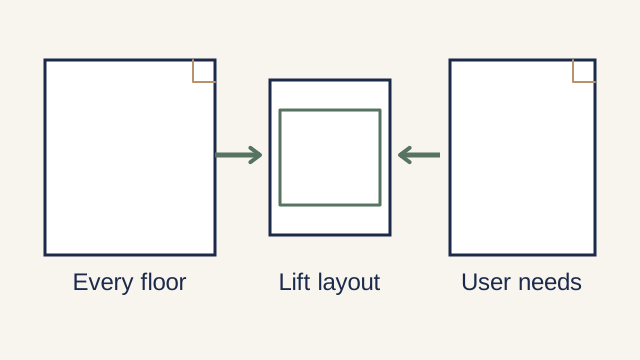
Bring floor plans for every level served, photographs looking towards and away from each proposed entrance, the lift drawings you have received, and the intended users’ access needs. Include planned changes to floors, ceilings and nearby doors. These details allow the project team to consider the house as it will be used after renovation.
Use the home-lift buying guide to connect the fit decision with the broader installation and ownership commitments. For the first assessment, the immediate objective is simpler: identify a workable position, establish which dimensions remain unconfirmed and name the drawing that will govern the building work.
When you are ready to discuss a new home-lift installation, send the plans and model proposals together. Ask for drawings that separately show the space inside the lift, the enclosure, the floor opening, the clear doorway and the approach at each landing. The team can then check each space for its own purpose before building work is agreed.
Home Lifts across Singapore
Need help with your project?
Tell us what you need on WhatsApp and send a few photos. We'll arrange a free site assessment, then give you a fixed-price quote within 3 to 5 working days.